|
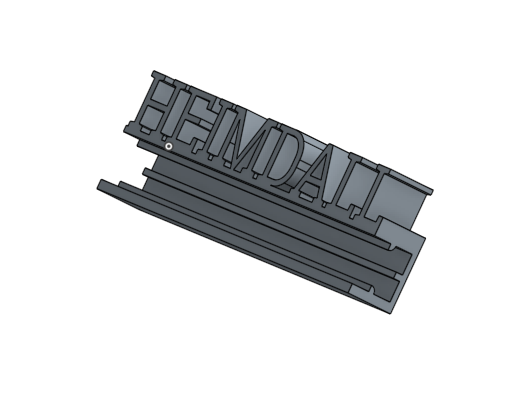
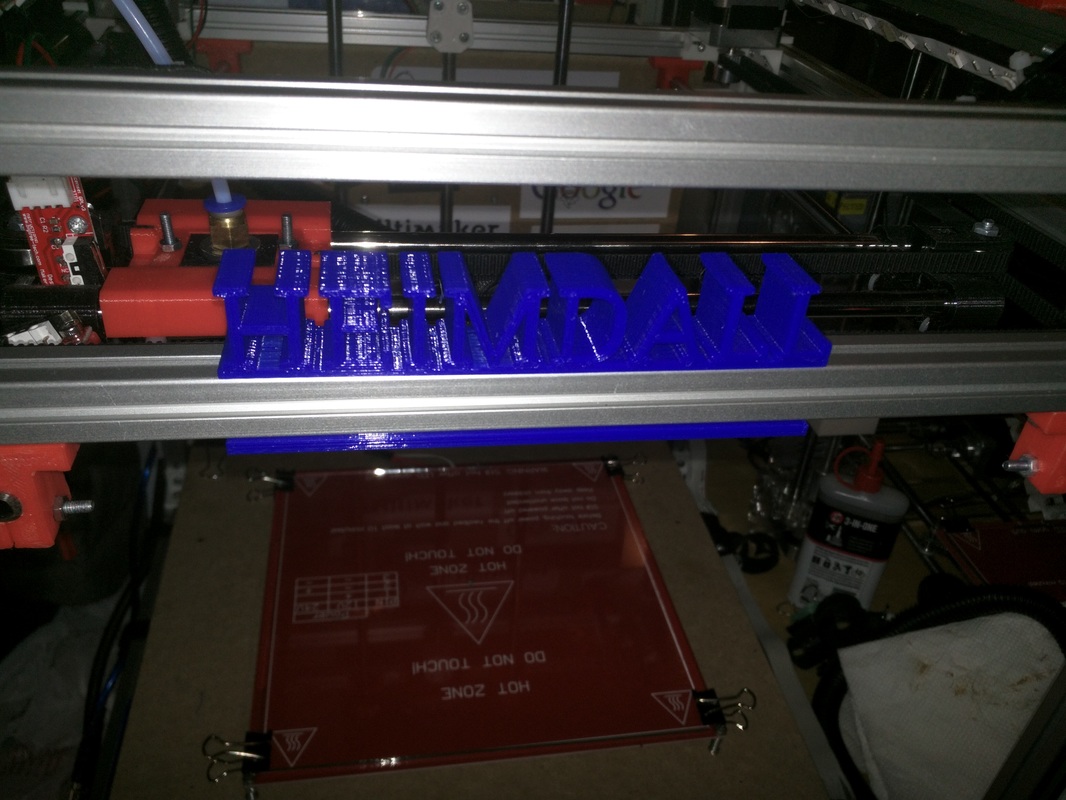
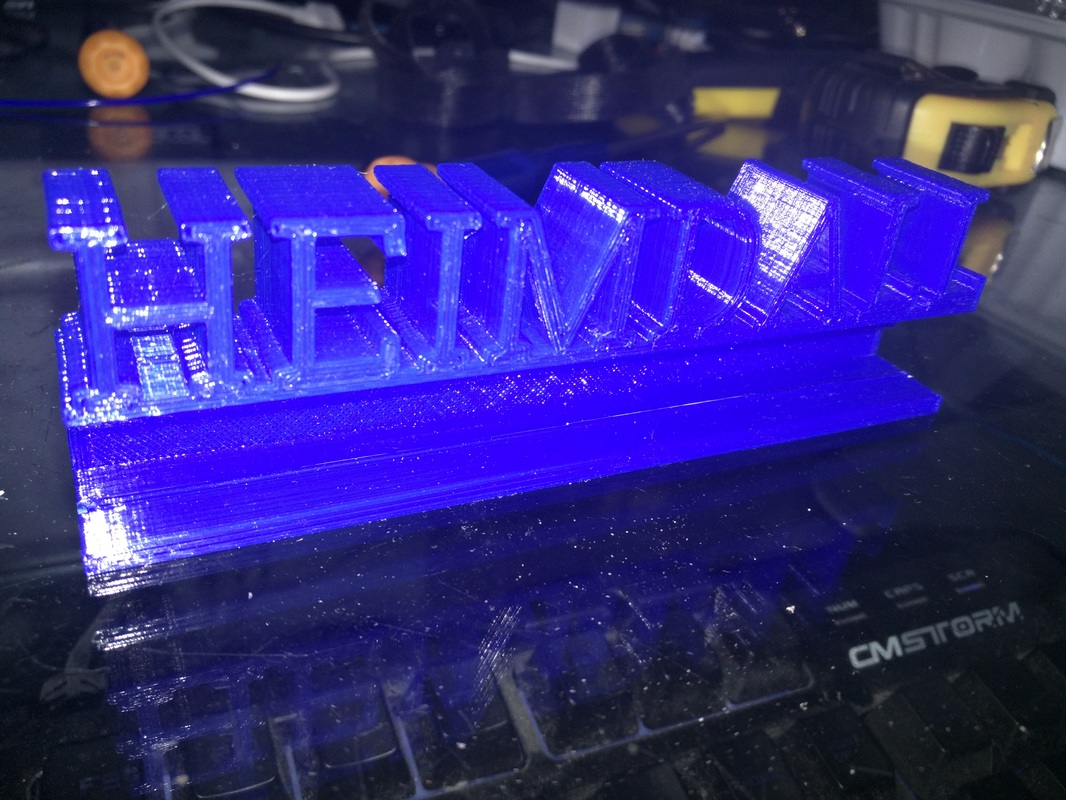
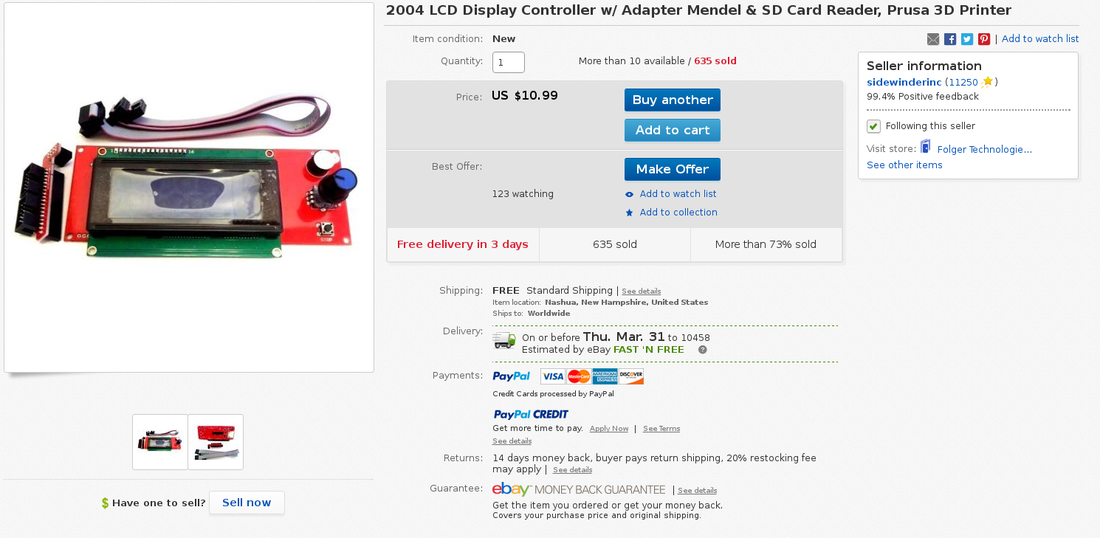
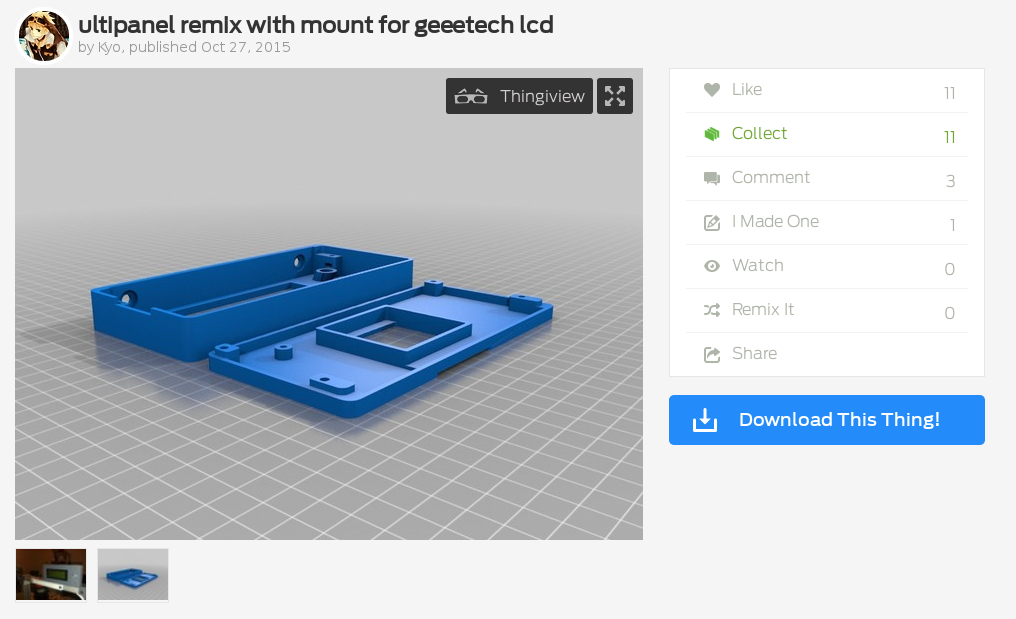
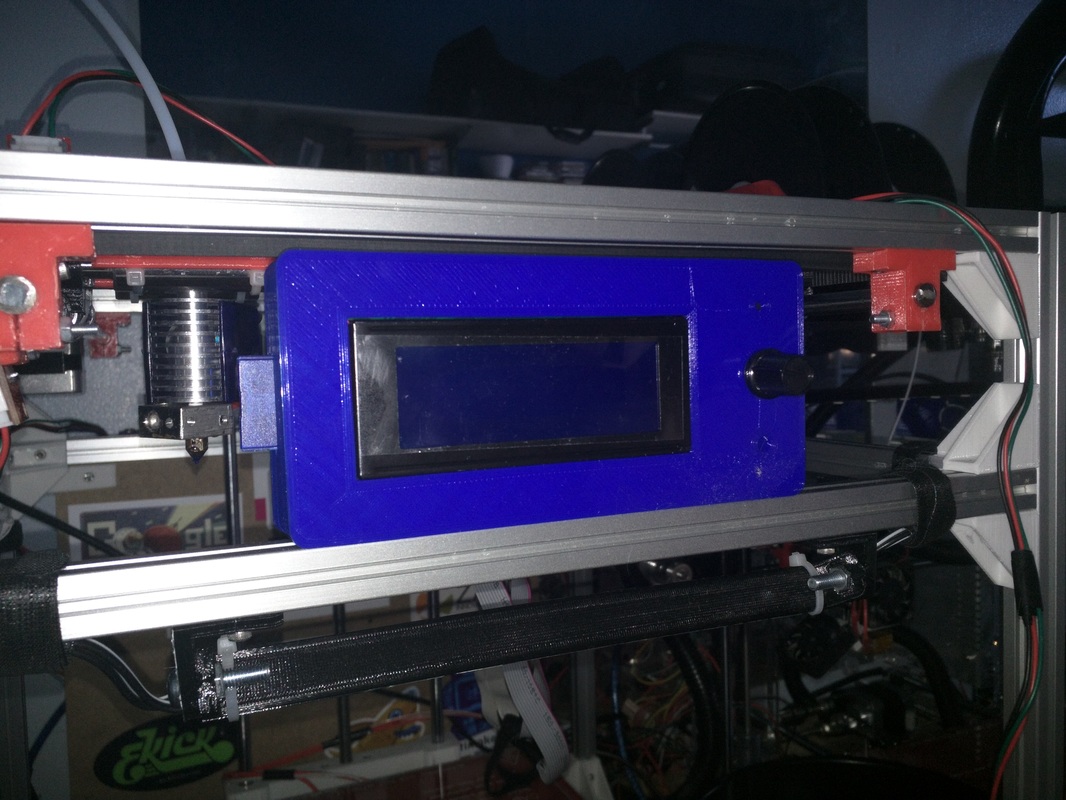
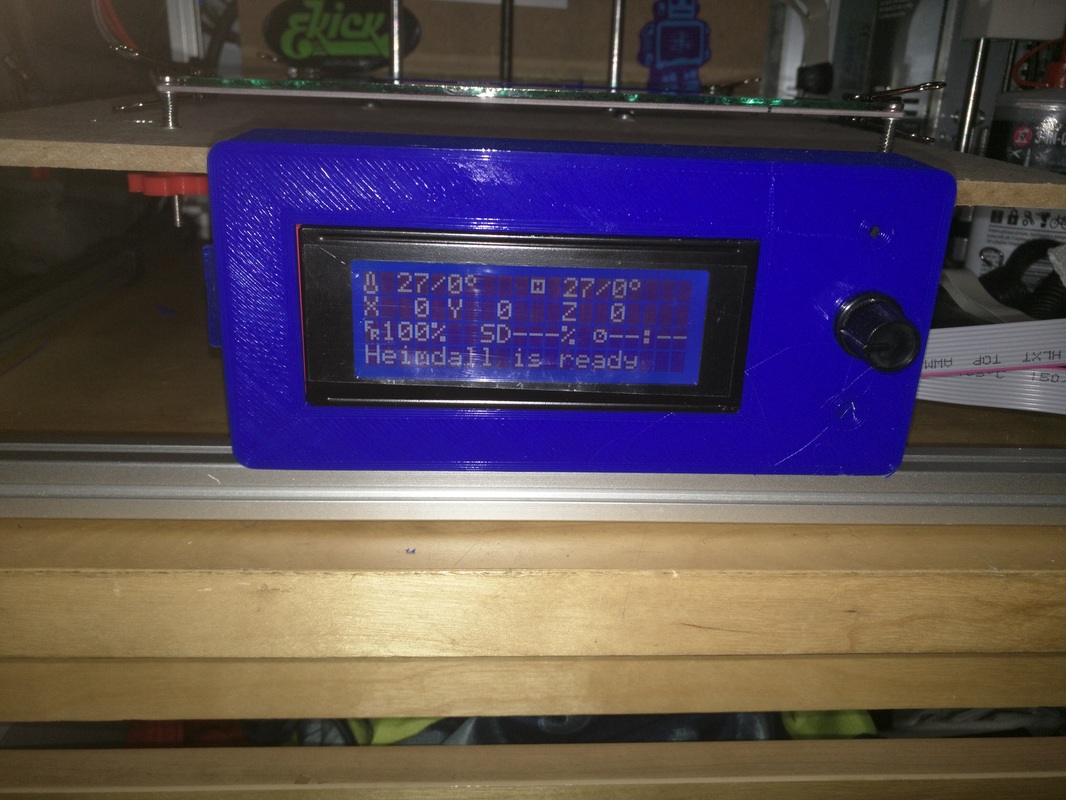
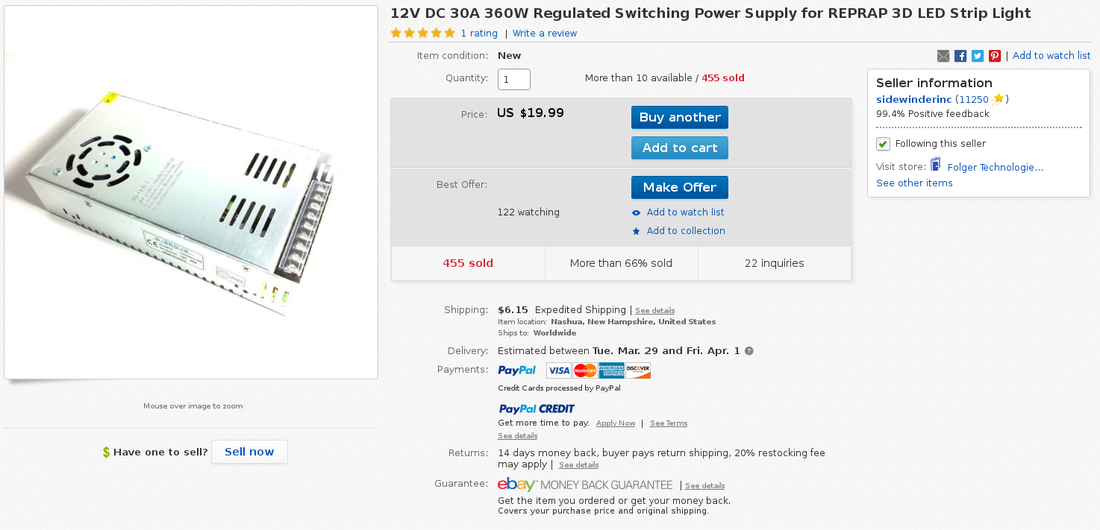
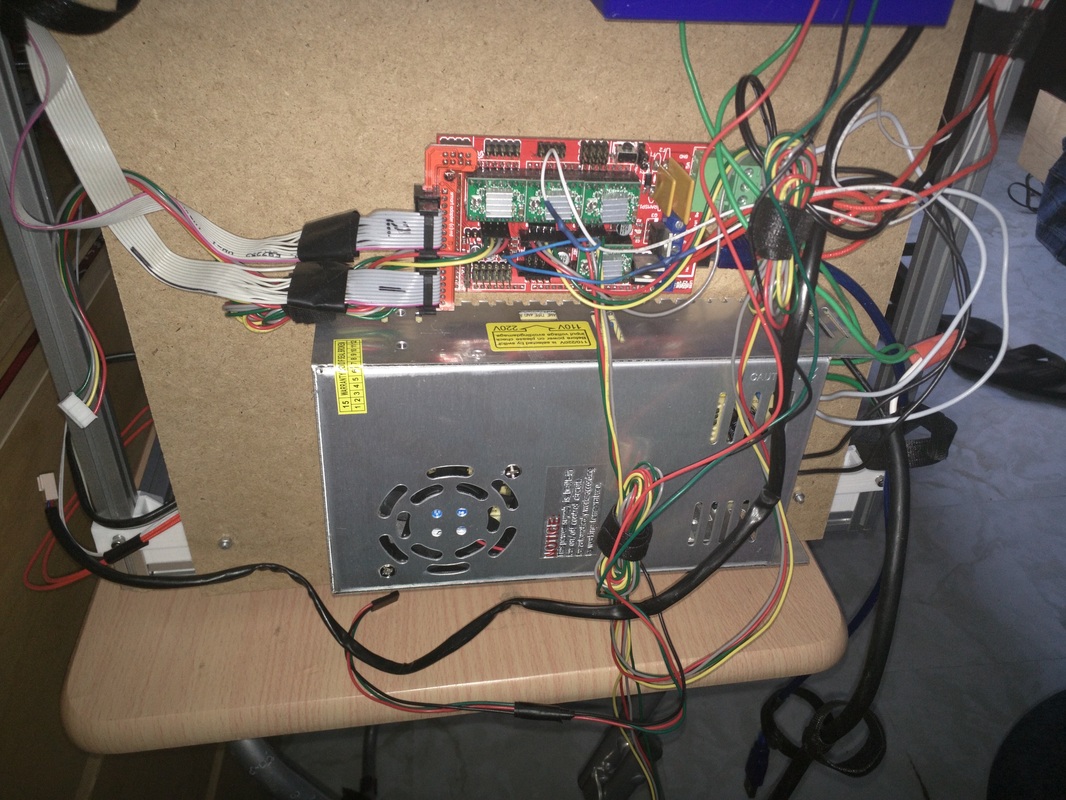
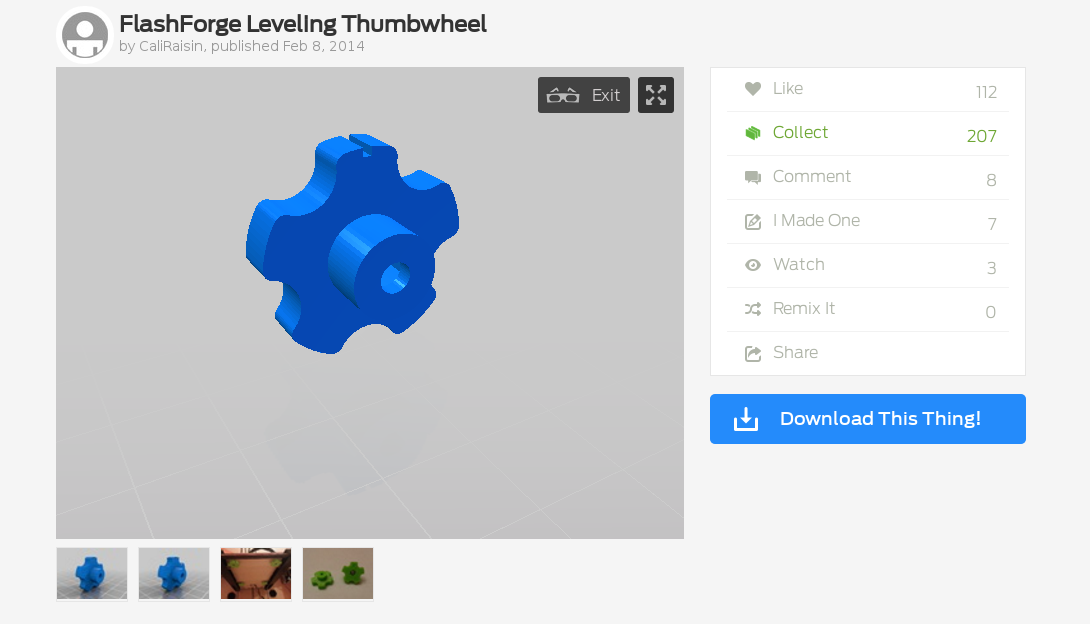
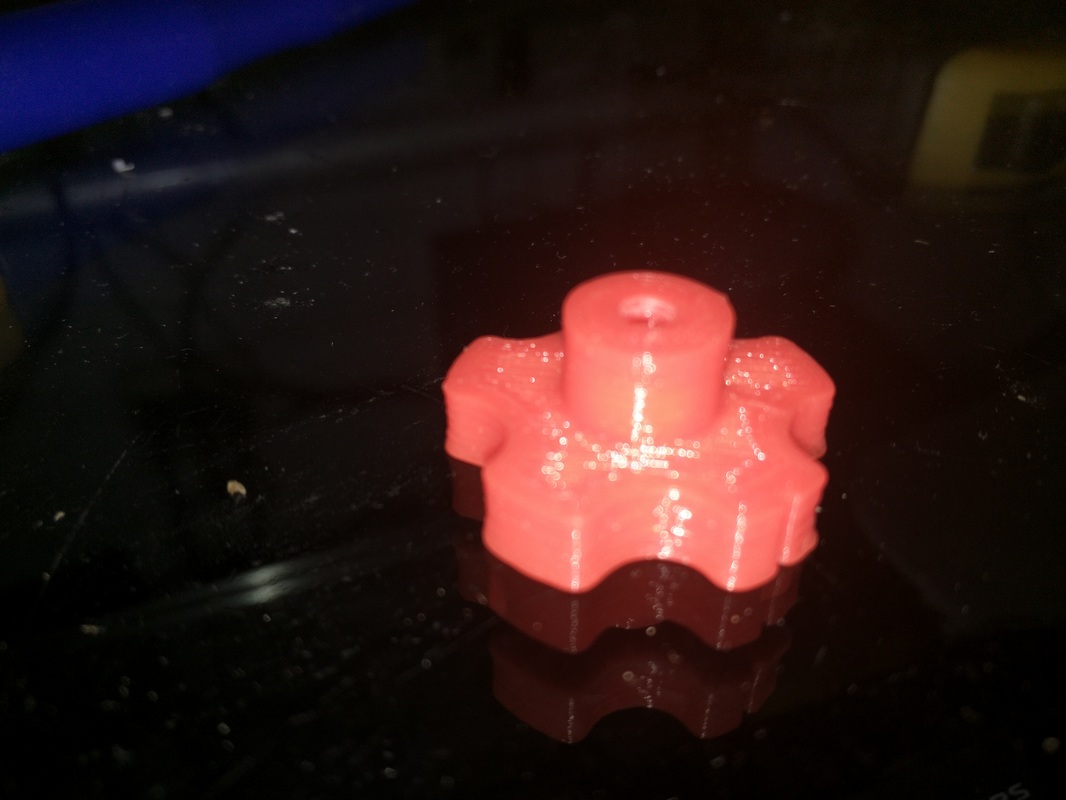
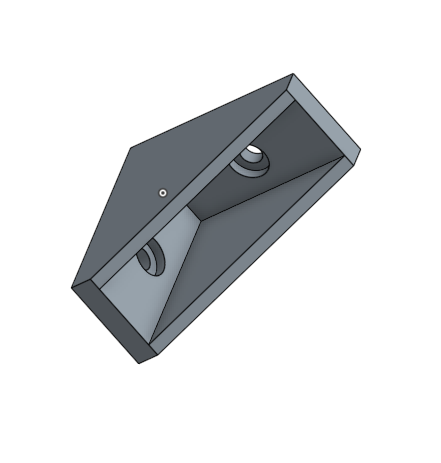
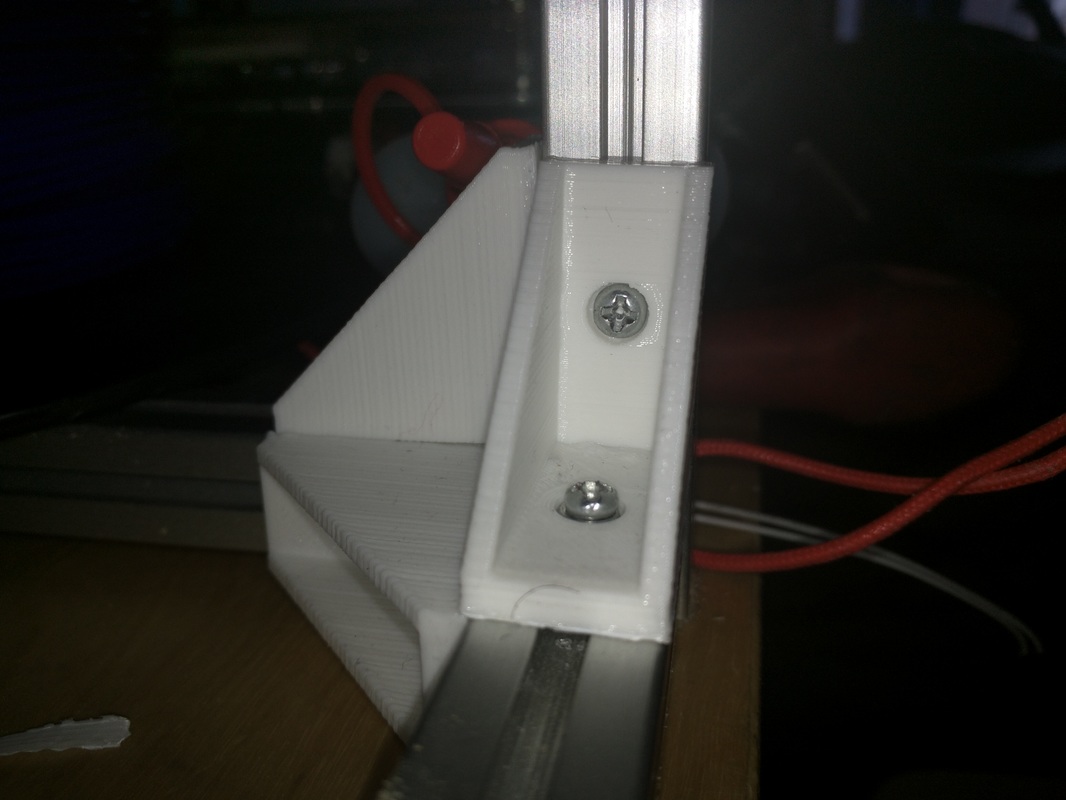
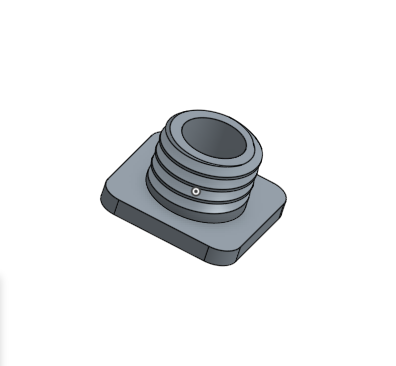
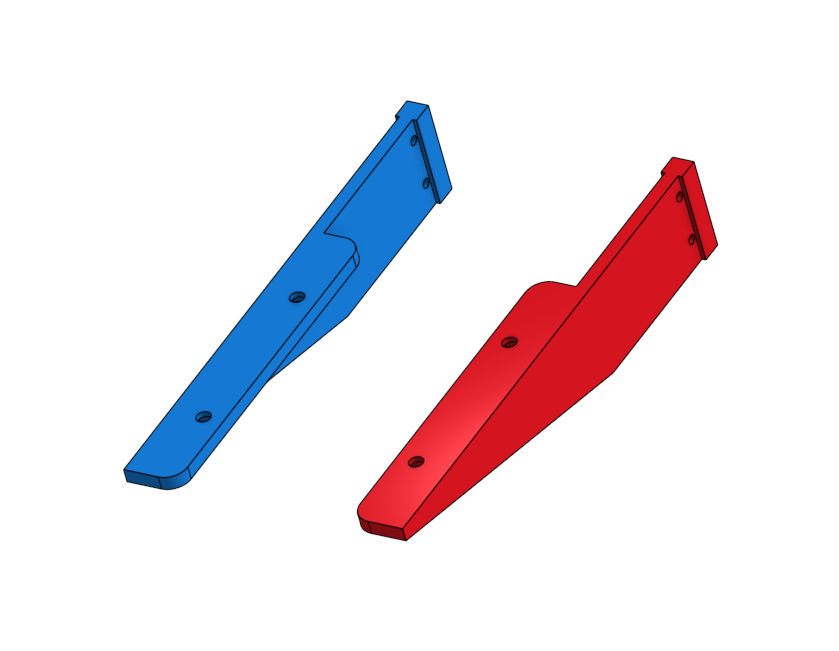
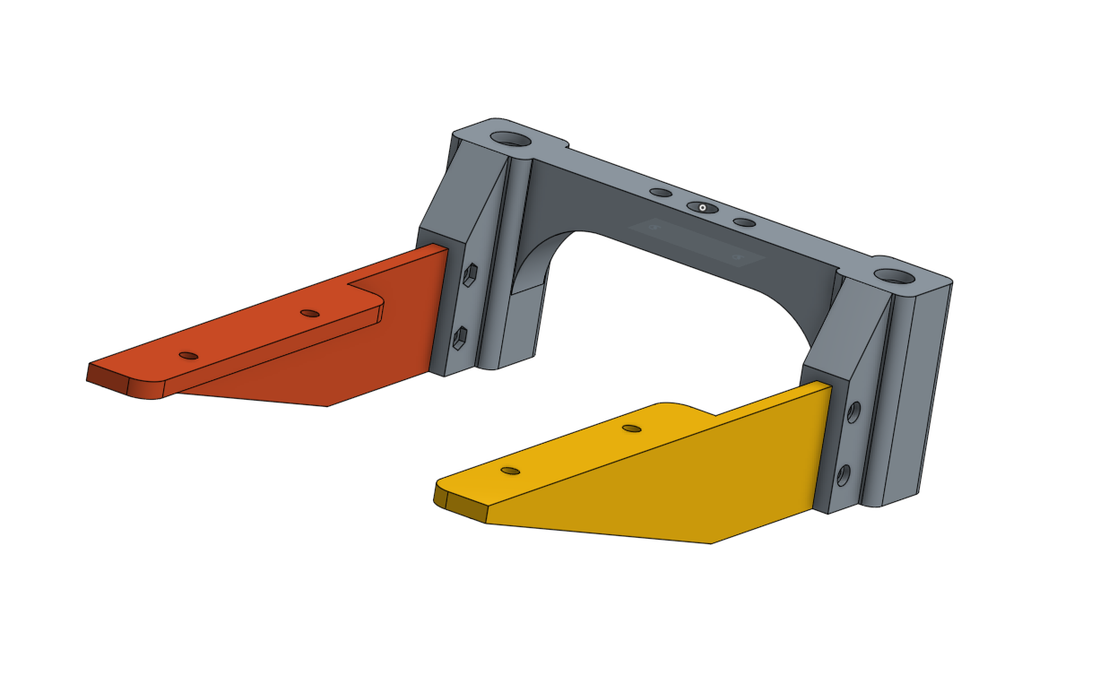
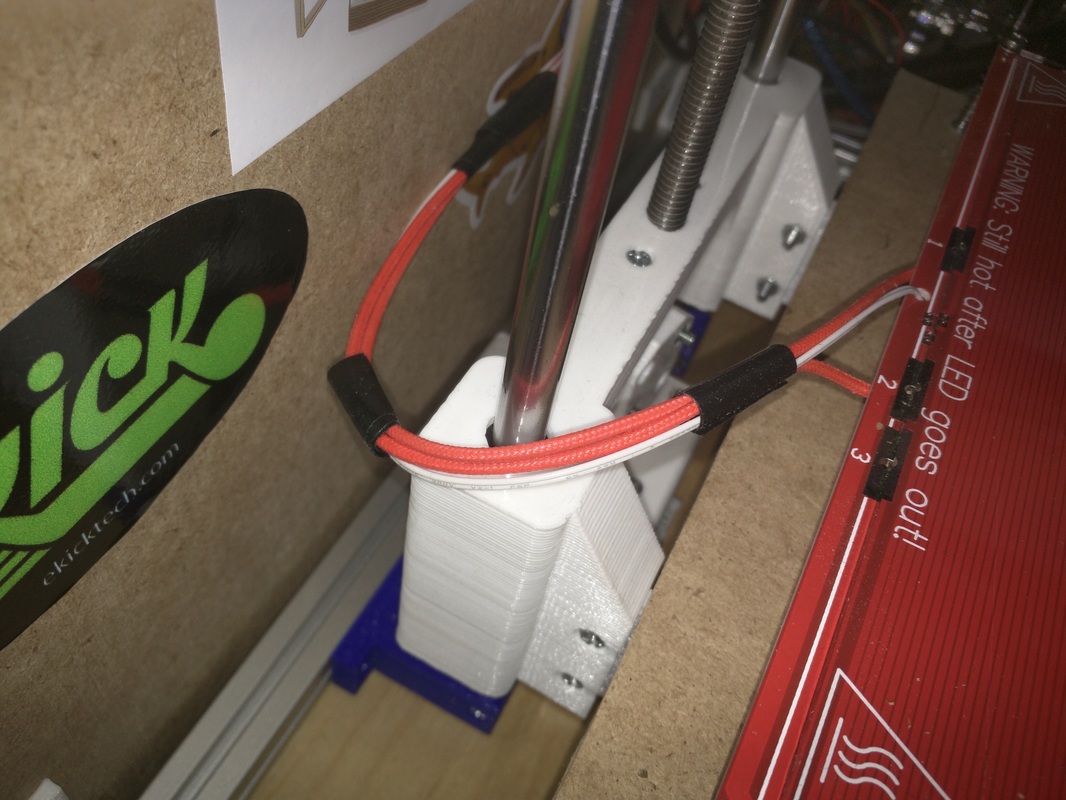
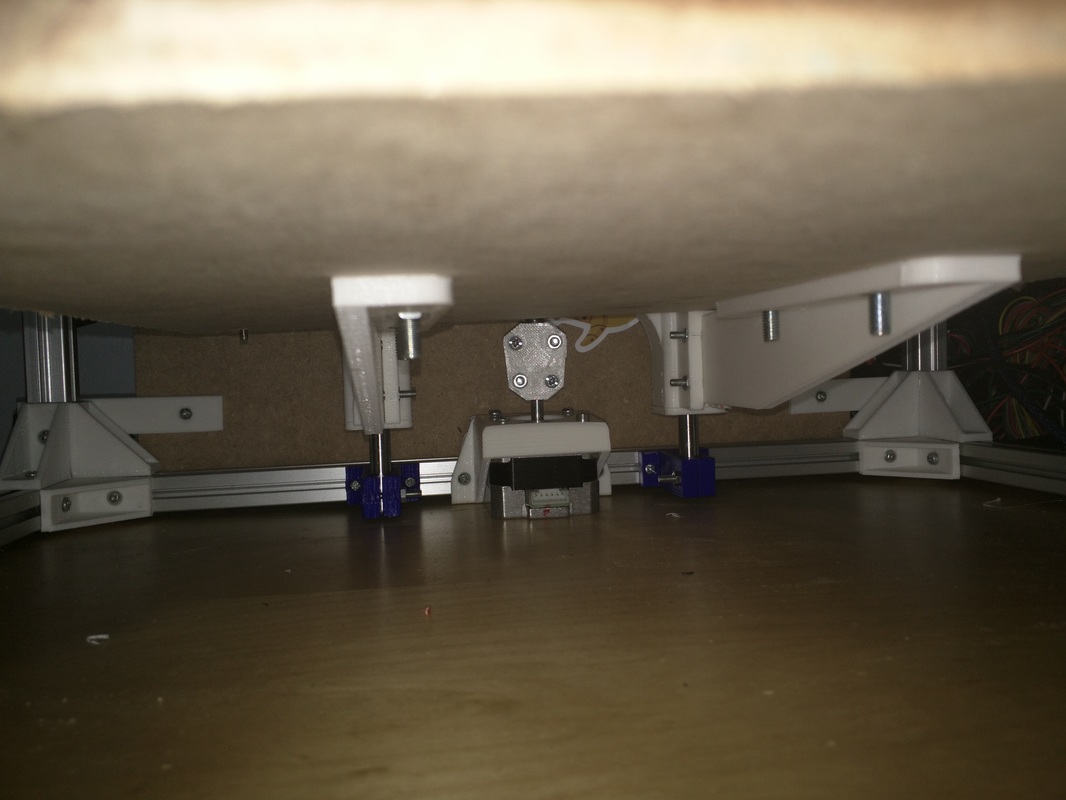
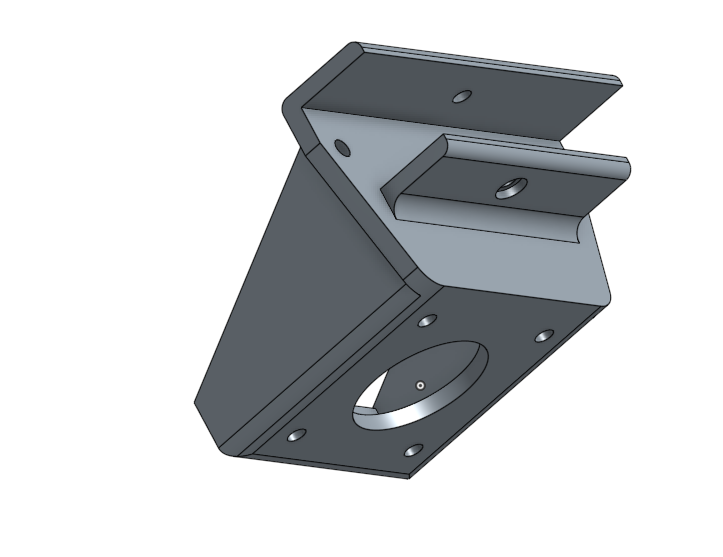
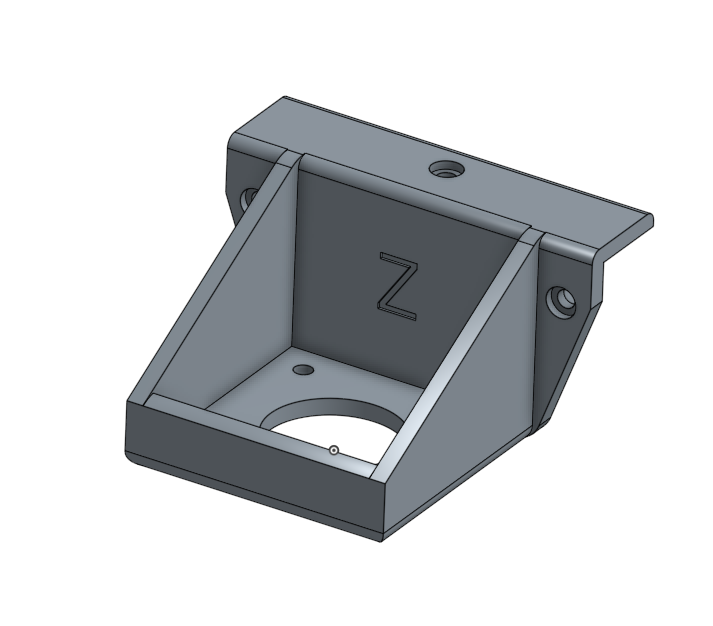
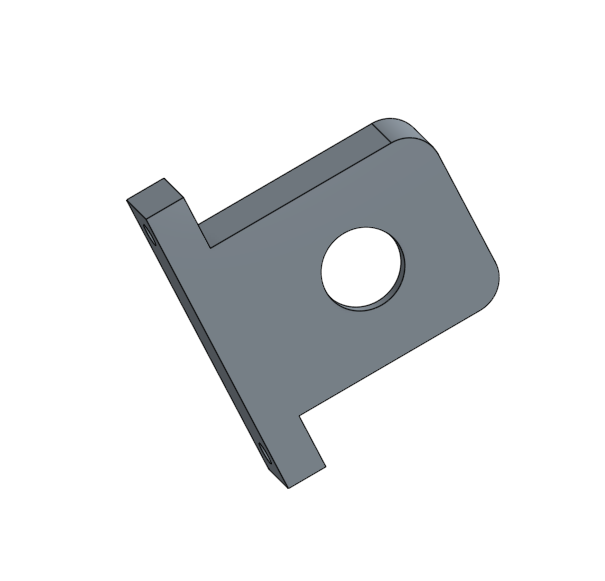
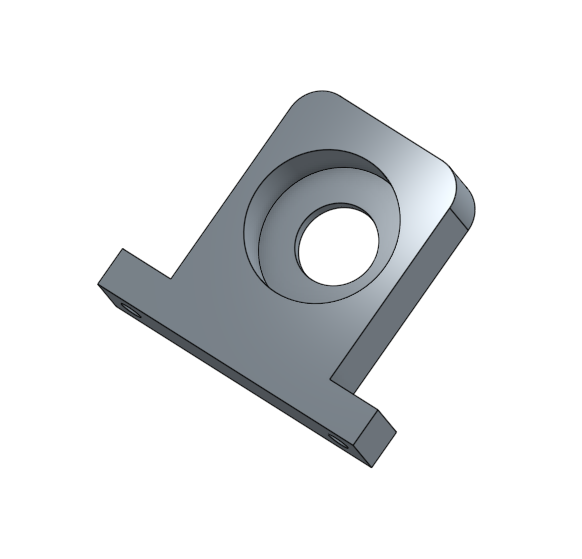
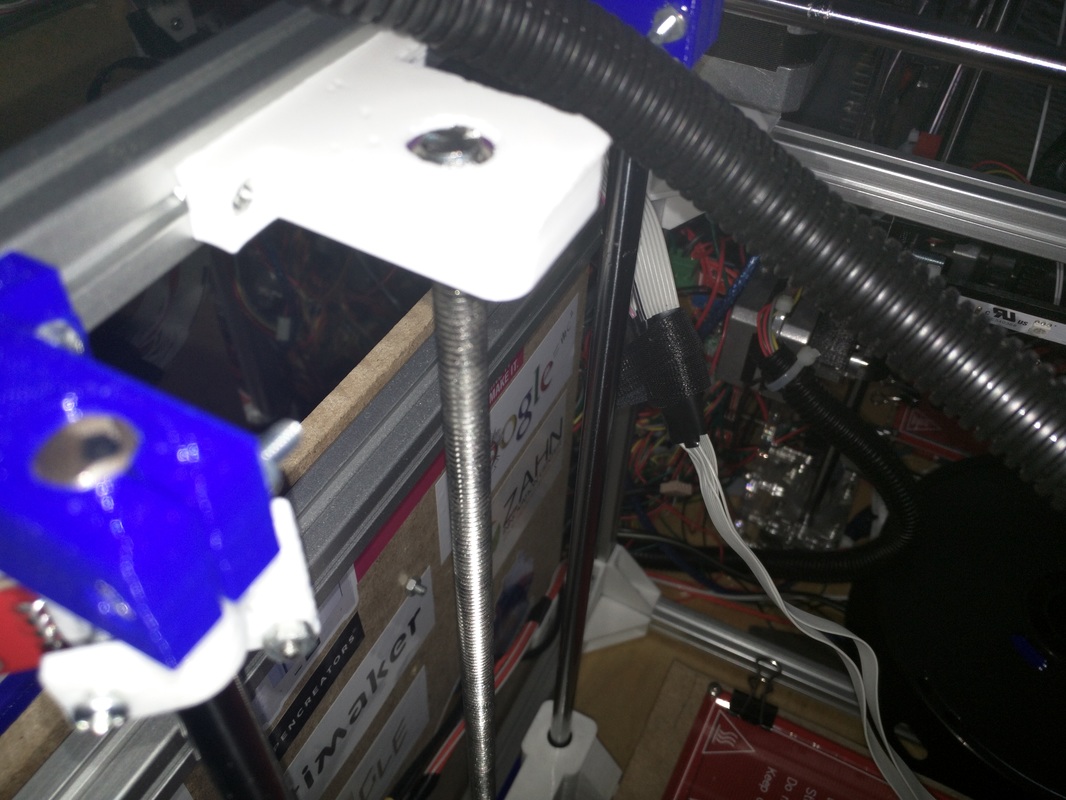
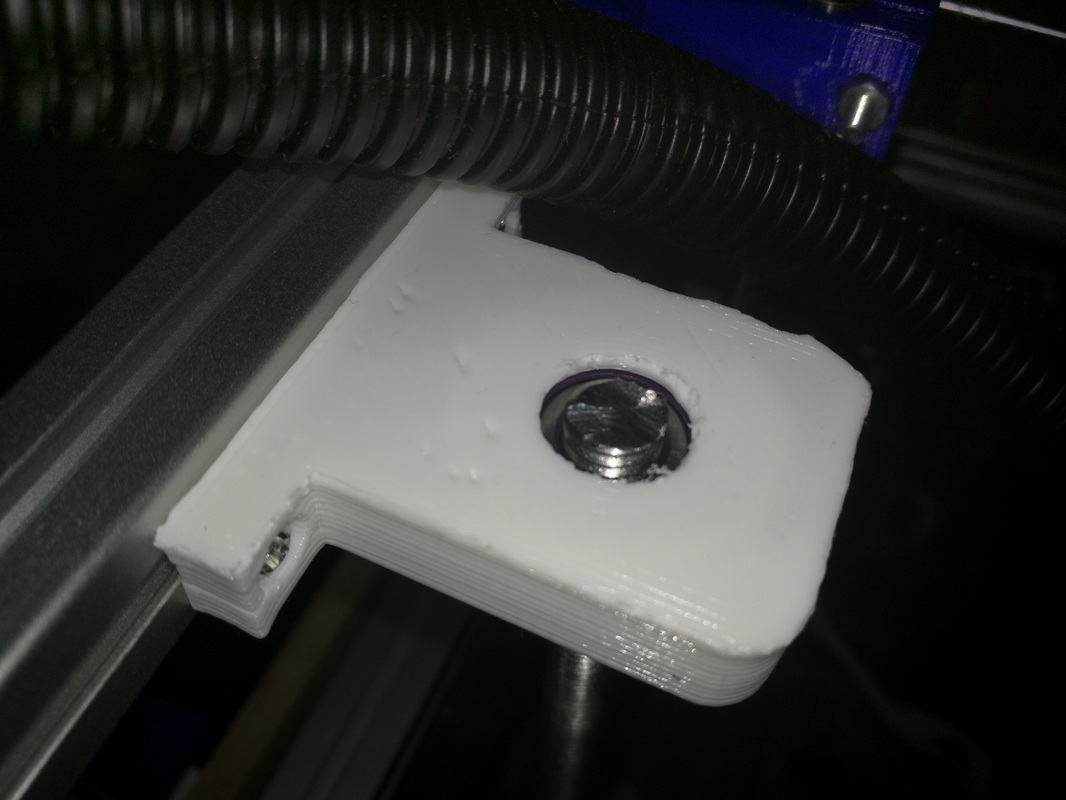
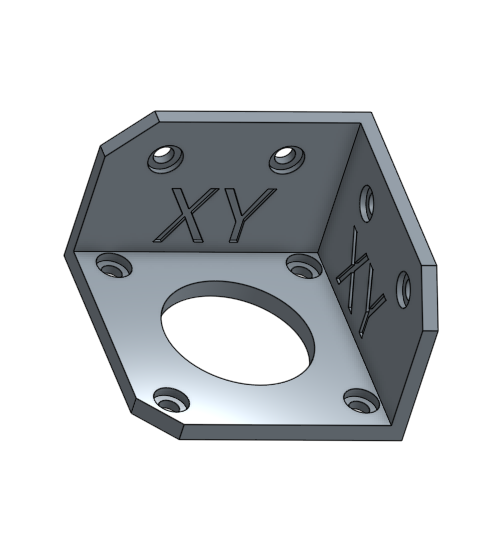
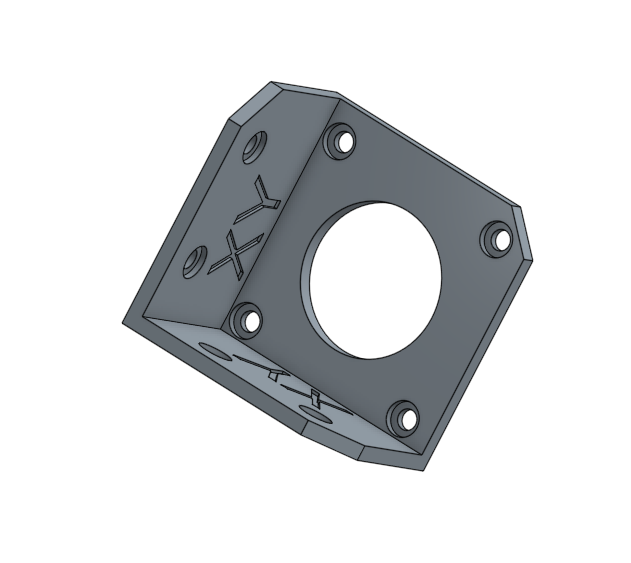
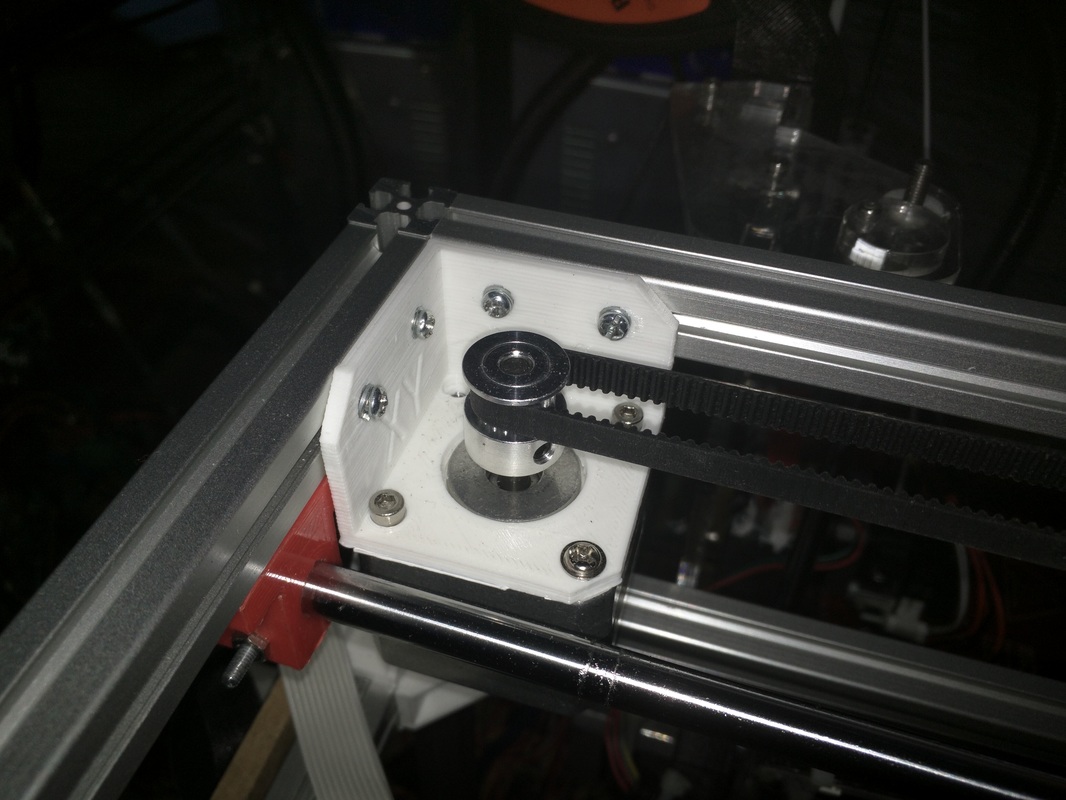
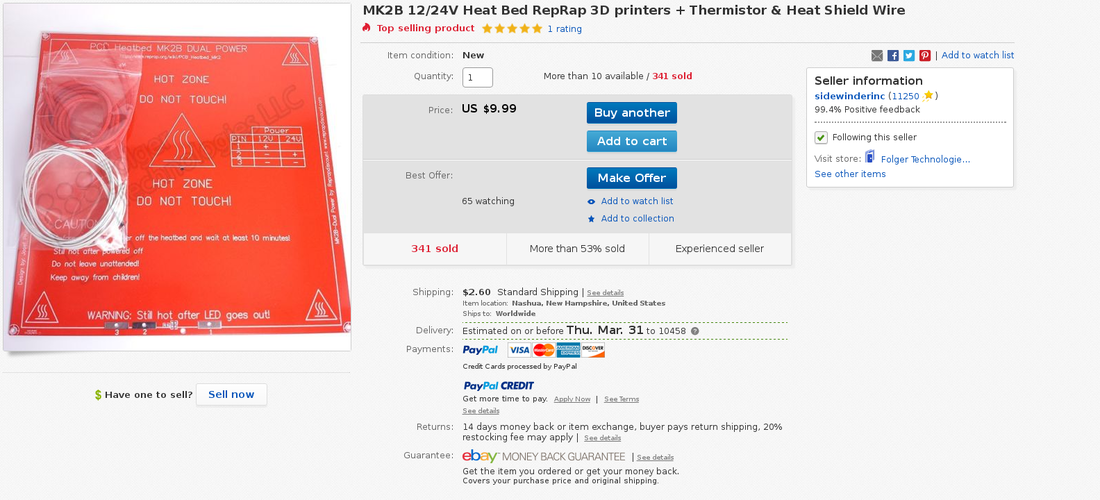
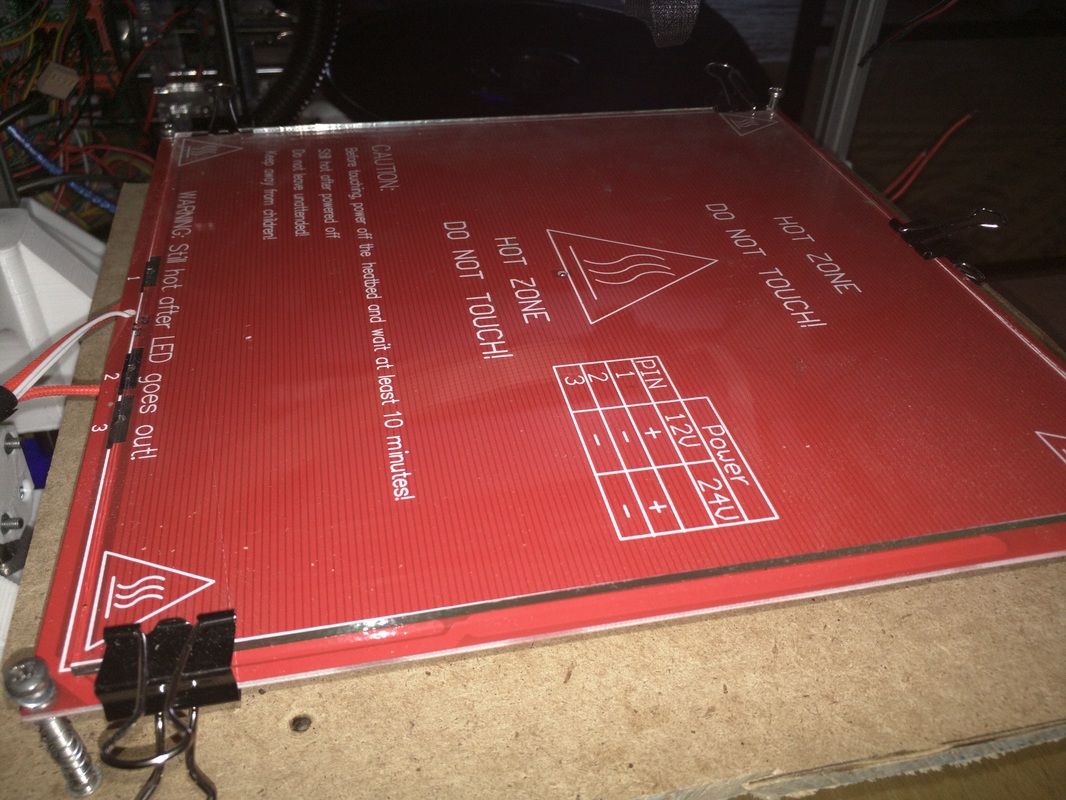
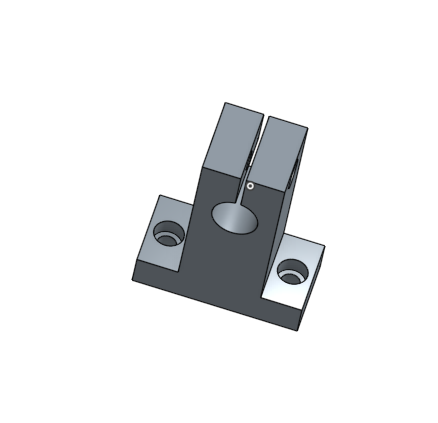
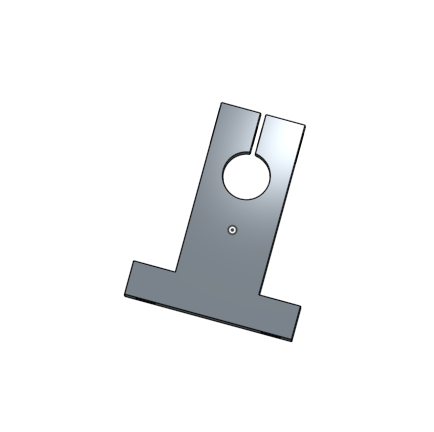
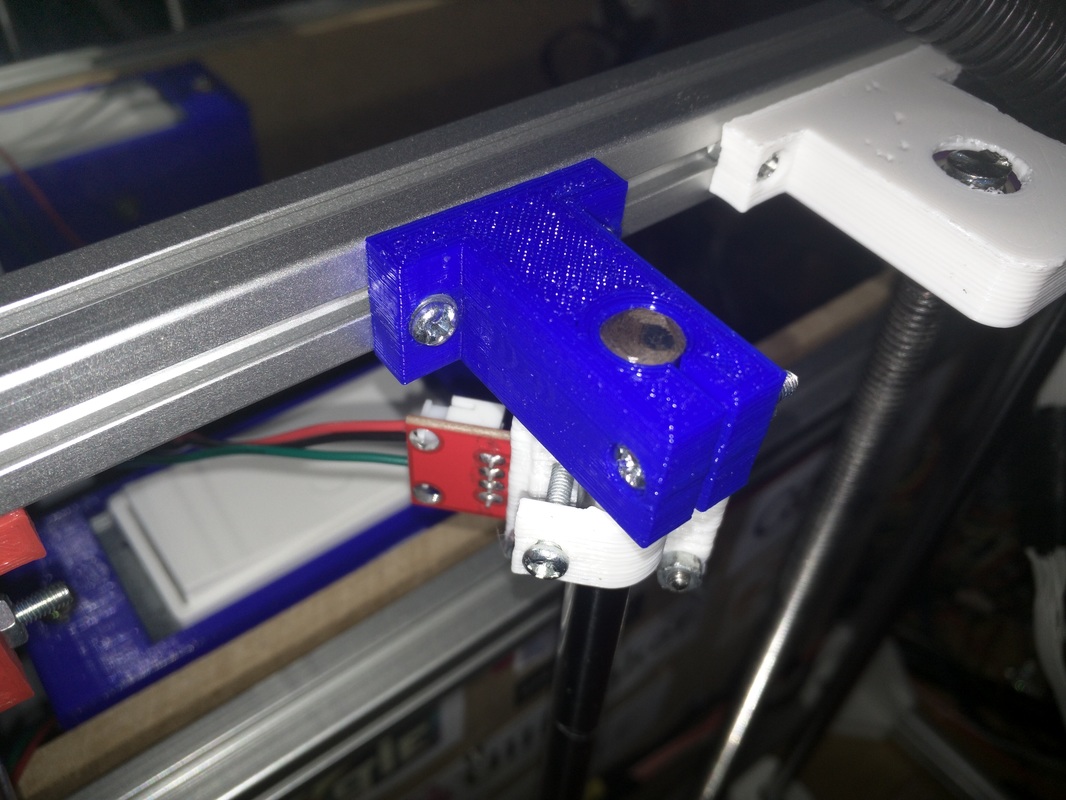
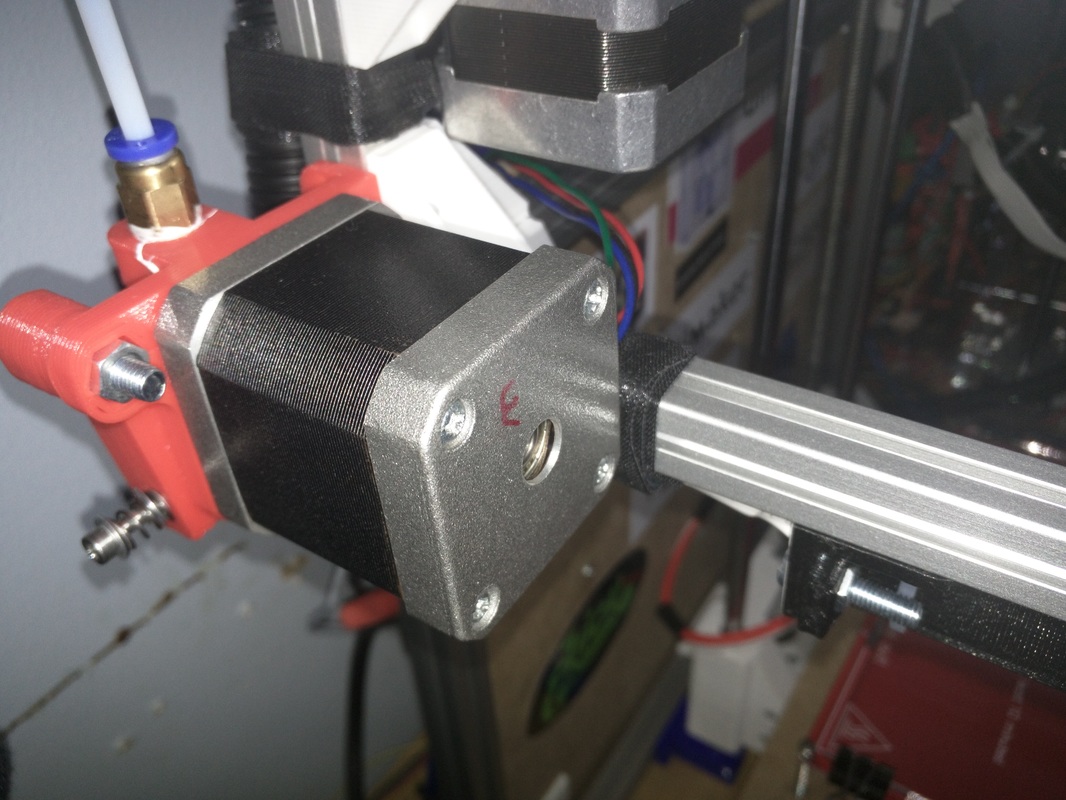
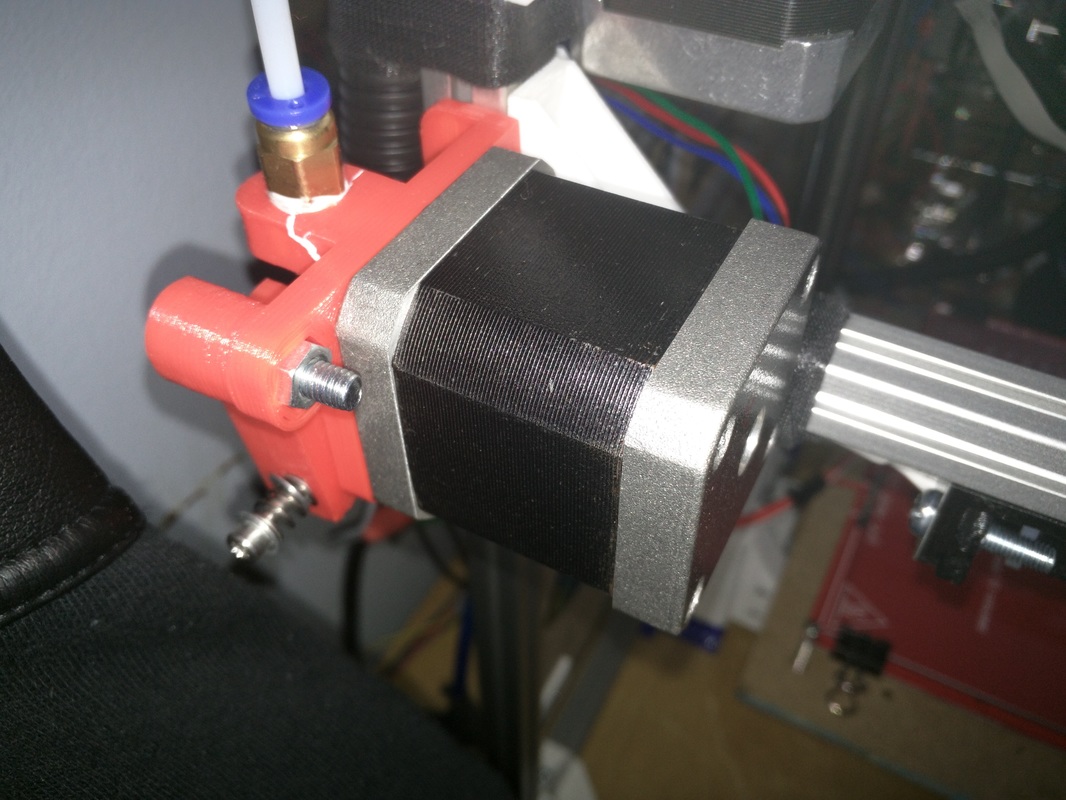
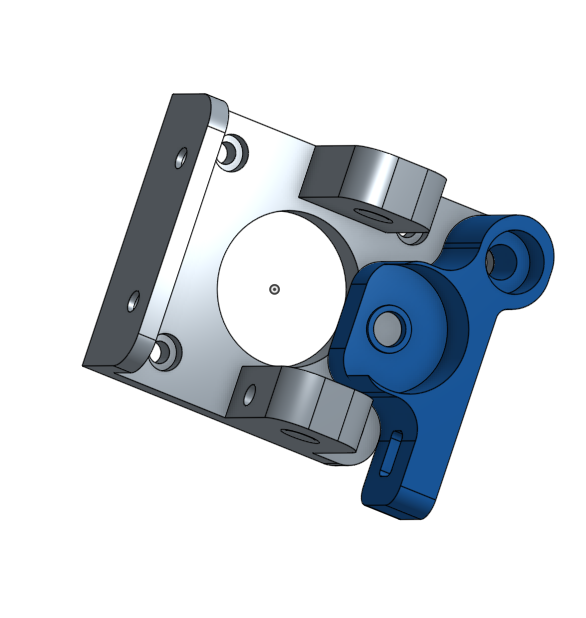
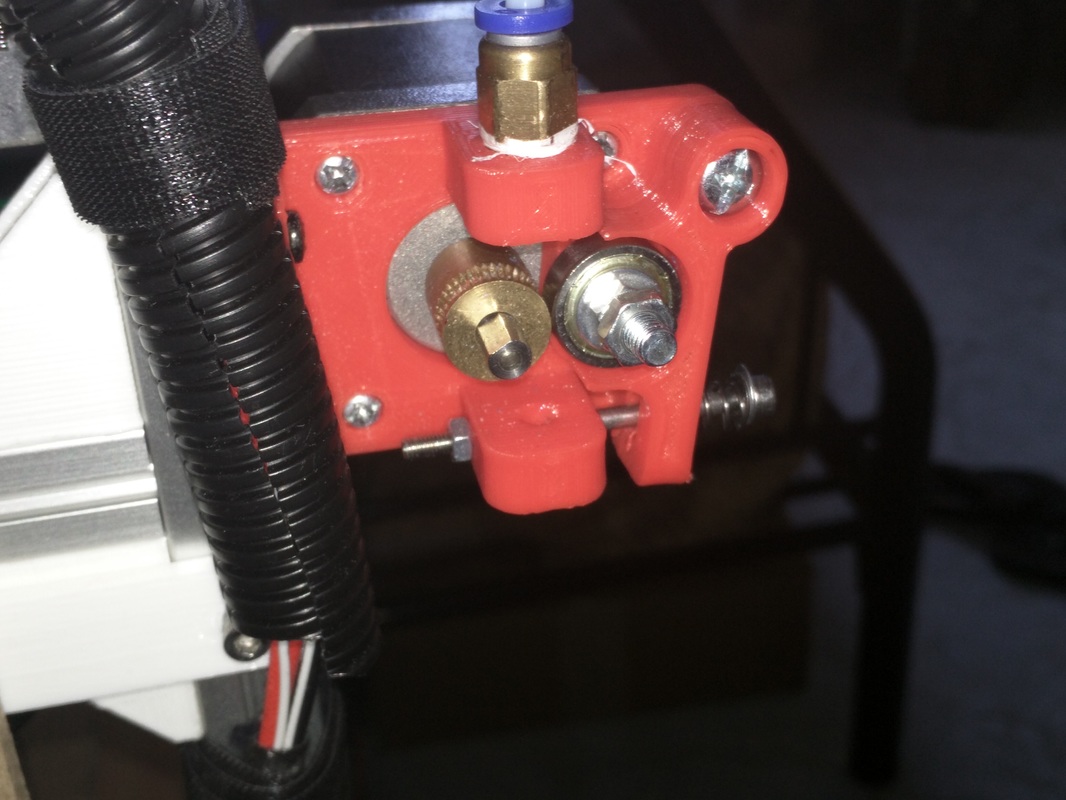
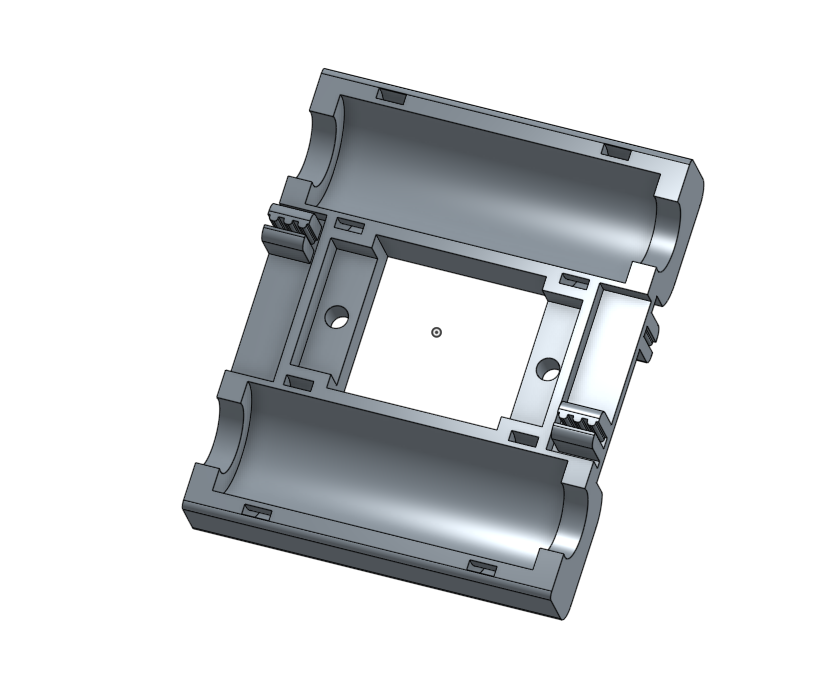
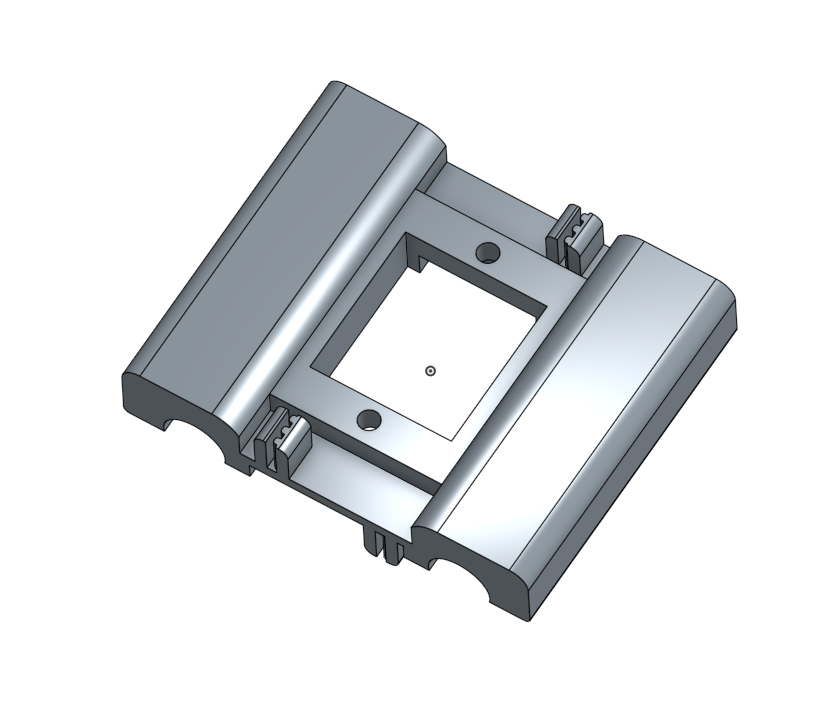
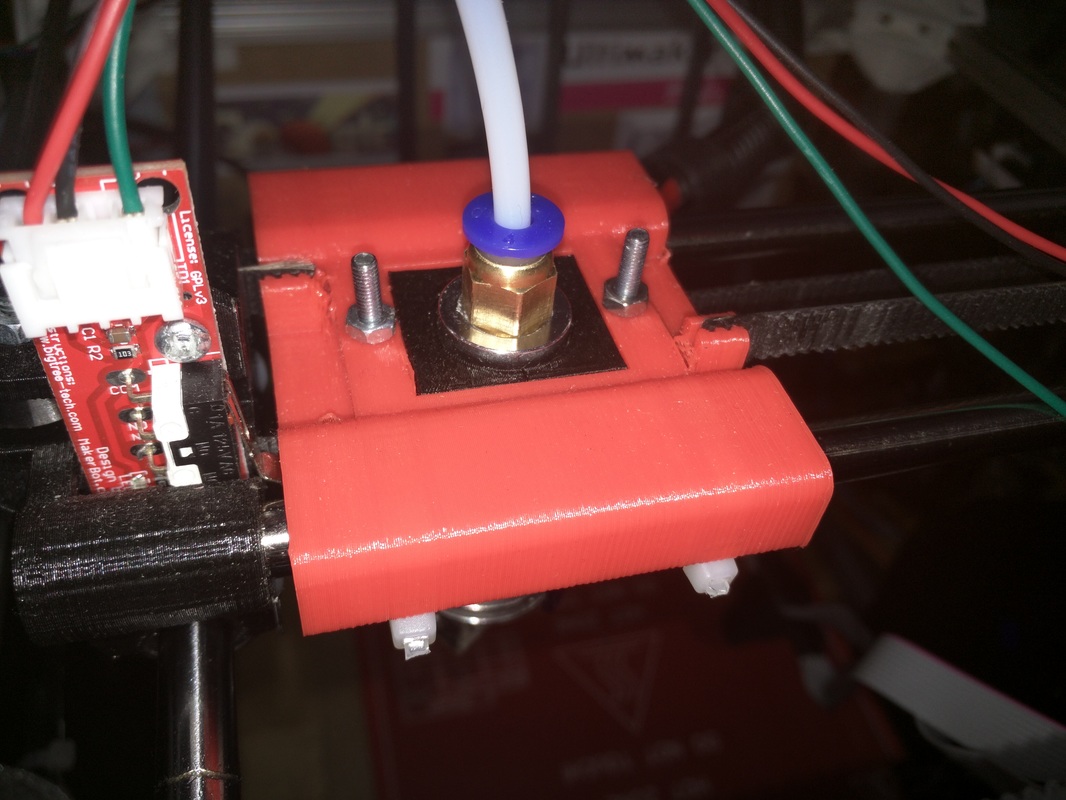
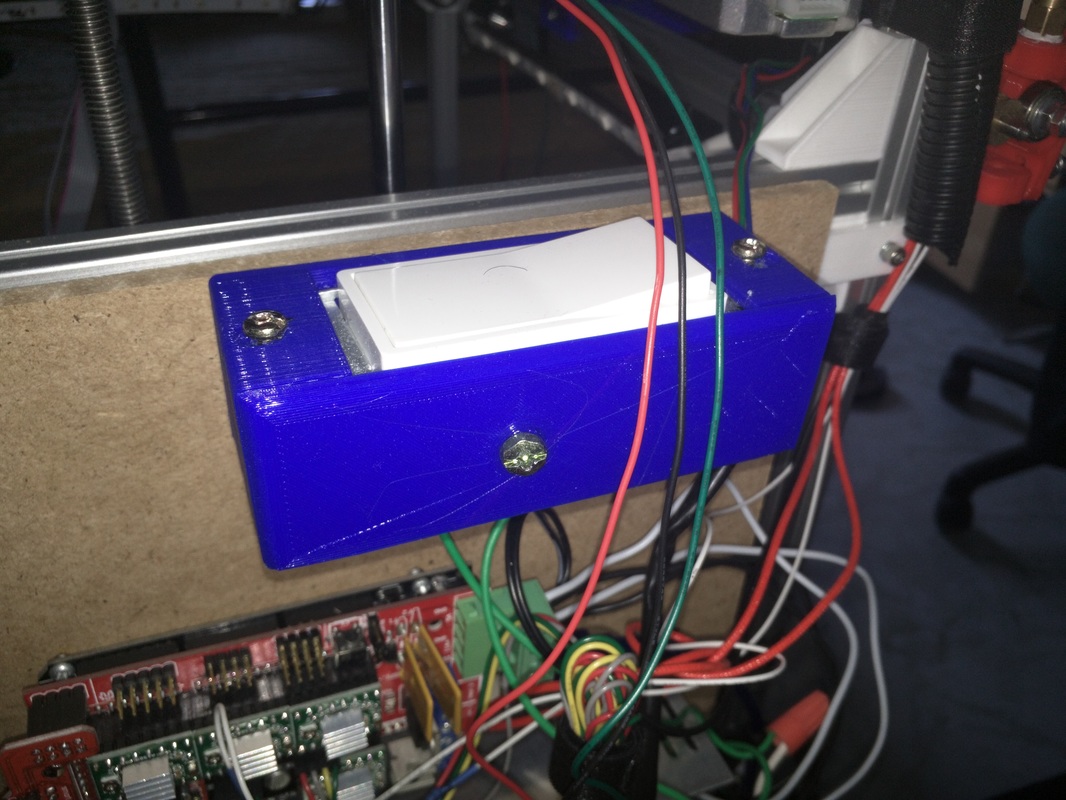
Hello everyone. So, a lot has changed ever since the last update. There has been a lot of parts of the printer that have been redesigned and many parts which have been changed. So far, I believe that the printer right now can provide reliable high quality printing. There are some other parts which need changing other than the ones listed here, like for instance the linear bearings because they are old and really loud. Overall I'm really liking the direction in which the printer is going. I have also done some streams on Twitch.tv in which I designed and printed parts of the printer, so if you were able to tune in for those you are great! Heimdall Front LogoSo I made this logo that if you would like, you could slide into any of the 1515 extrusions to display the name of the 3D Printer. Just a really simple design, nothing too fancy about it. In the newest build of it, I replaced the logo with the LCD because the LCD takes less space there and ends up looking far better there. New LCD Display (Reprap Discount)I ended up adding a RepRap discount LCD display to make to make the printer overall more reliable and portable. This will allow me to take the printer wherever I need and just have the SD card with the gcode of the prints that I need there. I can also move the axis and do really whatever I want with the printer without relying on a USB connection to a computer. So far it works pretty well and the Marlin firmware has been adding new features to these LCDs that I need to test out as well. I purchased this LCD from the Folgertech page on Ebay. The cover for the LCD is from the thingiverse user Kyo: http://www.thingiverse.com/thing:1094510 Also I need to thank the people who helped me get the LCD and the power supply though donations on Facebook. I love you guys! New Power Supply (12v, 360W)I got this power supply in order to power the new heated bed. The printer used to have an old 150W power supply but it was not enough to power the heated bed, due to the amount of amperage required to power it to normal printing temperatures. This power supply should have enough power to power the hotend, heated bed, electronics and LEDs. I purchased this power supply from the Folgertech Ebay page. Again, thank the people who helped me get the LCD and the power supply though donations on Facebook. I love you guys! Bed leveling thumbwheelThese thumbwells are just to facilitate the leveling of the heated bed. They works fairly well and they just need a M3 nut inside of them. This model comes from the user Caliraisin: http://www.thingiverse.com/thing:243998 Redesigned Corner BracesI decided to make some changes to the old corner braces, and added sides to them so they will not be able to bed in any circumstances. I also made them slightly longer for them to have more space and mass, which helps with rigidity. Overall the frame seems to be more rigid with these in comparison to the older ones. Redesigned Z Axis CarriageWell, these parts are one of the parts that took the most time to get them to work properly and a lot of prototyping went into them, but at the same time they are very smart designs. So these parts are pretty much the Z axis part to which a wooden board can be screwed to and then the heated bed goes on top of the wooden board. I used MDF for the wooden part because it is completely straight, does not weight too much and it is cheap. The MDF was screwed to the two leg parts (red and blue parts) and those are then inserted in slots in the main body and screwed. They end up being really tightly attached to the main body. Now this is the interesting part, the linear bearings for the 8mm rods are inserted in a hole at the bottom of the main body, and then the hole is closed with a 3D printed threaded cap. The cap pretty much presses the bearing in place and does not allow them to wobble or move on the inside, and at the same time ends up being tightened really well to the point that the cap wont move from its spot unless you use tools. This design is great because it uses less screws than my older design, it is more low profile, far sturdier and reliable, while keeping all the parts 3D printed. New Z Axis Motor BracketI decided to redesign the Z axis motor mounts because the older ones seemed to be really flimsy and anemic. These attach fairly well to the 1515 and do not move at all. I designed these to go at the bottom of the printer base. It lays almost flat with the base of the printer but not quiet, so the printer's bottom 1515 extrusions need to be moved up slightly to accommodate for it. This part was actually designed live in one of my streams. New Z Threaded rod StabilizerThis is a stabilizer for the Z axis threaded rod. I found that sometimes the rod will wobble a little bit when moving up or down which could cause issues when the carriage reached close to the ends of the axis. How these work is that there is a skate bearing which is press fitted in the middle of the hole, then the rod comes through the hole of the middle, which rests in the middle of the skate bearing. When the Z axis rod spins, it spins the with the bearing and does not wobble at all. I decided to use skate bearings because the shaft fits almost perfectly inside of them and they are also extremely cheap. New XY Motor MountsThese are some new brackets for the XY axis. I decided to design these because the old ones that the printer had will have the motors laying upside down and I didn't like that really because if one has them at the top of the printer, they will stick out too much out of the printer, and if something happens to the top of the printer it could end up damaging the motor. I rather have them within the frame of the printer as they are now. New Heated BedThis is a conventional Prusa bed that I decided to purchase for the printer. I decided to buy this heated bed because with it I can print many more materials, not just PLA. Don't get me wrong, the wood bed with painters tape worked very well and prints stuck to it fairly well, but it was not as reliable as having a proper heated bed. Now I can print ABS and other materials with this bed as well which is great. I find that this heated bed tends to heat up way faster than the heated bed in my Folgertech Prusa i3, they are the same heated bed and have the same power supply and electronics and it seems to just get to printing temperature much faster. I will have to do a test to see how fast it gets to temperature in comparison. Configuring the firmware to use a heated bed was really not challenging and worked well at the first try. Redesigned 8mm rod Holder for Z axisI had to modify these slightly because of the new Z axis motor bracket. It seems to be 3mm thicker than the older one, so I had to account for it with these new Z axis shaft holders. They are just 3mm longer pretty much. New Bowden Extruder MotorThis was something that I had issues with for a while. No matter if I was using a direct or bowden extruder, they motor will get extremely hot, to the point that it might damage it. When the motor will heat up, it will just stop working properly and will start under-extruding or extruding at all. I realized that I had this motor around, which was from my old OneUp 3D Printer and decided to put it the printer instead of the older motor, changed the Vref of the stepper driver for about 0.700V and it worked beautifully. This motor seems to have way more torque compared to the older one and can do the same job and not even get warm at all. It is a little loud though, and when retracting it makes a loud noise which I will have to play with my retraction settings to reduce, but other than that it works fairly well. New Boweden Extruder MountThis is a bowden extruder mount that I designed. It works like any other bowden extruder design out there, it uses one of those M10 fittings that some bowden extruder hotends use at the top and uses a small bearing and MK7 gear. I might have to get back to this extruder because it does not work extremely well and might need modifications. This is one of the bowden extruders which clamp the filament between the bearing and the gear to push it through the PTFE tube. Enhances in X CarriageNot a lot has changed with the X carriage really. I decided to use the teeth that can grab the GT2 belt instead of using zipties to hold the belts to it. This is far more reliable and does gives more X axis travel. New KillswitchI added a big beefy switch to the back of the printer in order to work as a killswitch. I added one of these as well to my Prusa i3 because they are simply amazing. If something is wrong with the printer to the point of no return, anyone can come and just slap the switch and turn it off. For instance, one time I was printing something for my brother and the print detached from the bed and my brother just slapped the switch and turned it off, which ended up saving a lot of plastic and hassle. I believe that everyone should have a killswitch in their printers no matter what, they are life savers. Mines is connected between the mains cable and the power supply.
0 Comments
|
Angel MercedesElectrical Engineering student and lover of all things Open Source, 3D Printing, Electronics and Linux. Categories
All
Archives
May 2017
|


 RSS Feed
