|
Hello everyone, it has been a while. A long time ago, when I was beginning to use Linux, I found myself missing the layout of the Windows Skype which was that one window layout where at one side you will have your contacts and next to it you will have your conversation, and then I found this application called Skypetab-ng, which is as close at it will ever get to that layout. Installing Skypetab-ng You can easily install Skypetab by copying and pasting the following code in your terminal (Only working on Ubuntu based distributions): sudo add-apt-repository ppa:keks9n/skypetab sudo apt-get update sudo apt-get install skypetab-ng When you are done installing it, you should have two different instances of Skype, one that is the normal Skype and another one that is the Skypetab one. In order to get it to work you need to always launch the Skypetab one. 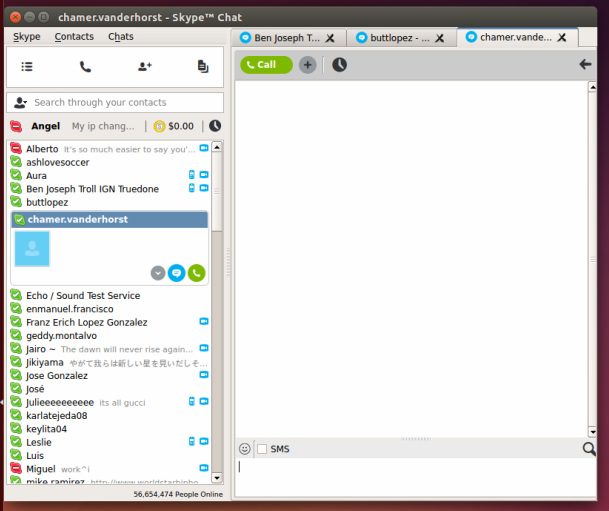 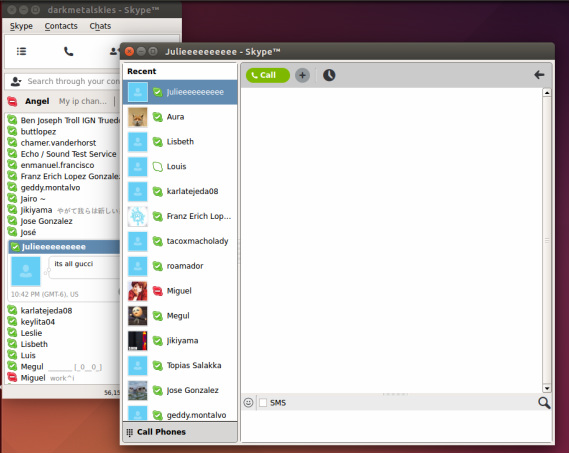 Skypetab puts all your windows in one, and instead of you clicking the contact every time you want to chat with him/her, you click a the tabs at the top right. This system can be more convenient if you are chatting to with a small amount of friends and you want to have them there all the time and be easy to find, mostly when you have many contacts. That's it, now you have a Skype that looks close to the one on Windows, and by the way, THANK YOU MICROSOFT FOR BARELY UPDATING SKYPE FOR LINUX YOU FUCKING ASSHOLES, EVEN THOUGH IT IS A DIFFERENT PLATFORM, WE ARE STILL USERS OF YOUR FUCKING SHITTY SERVICE SO GET YOUR SHIT TOGETHER AND TREAT US LIKE YOU TREAT WINDOWS/MAC OS USERS. ( at least we don't have ads on Skype for Linux but still, fuck). If Microsoft cared more about the actual users instead of looking at the platform itself as the competition, I will not be wasting my time writing this post.
You can find the blog of the developer of this app here [Click Here] and his github page here [Click here]. Also, if you want to see skypetab in action click here [Click Here]. Thank you for reading, if you have any questions regarding this application or its installation you can leave a comment in the comment section or you can contact me directly, my information is in the contact tab.
1 Comment
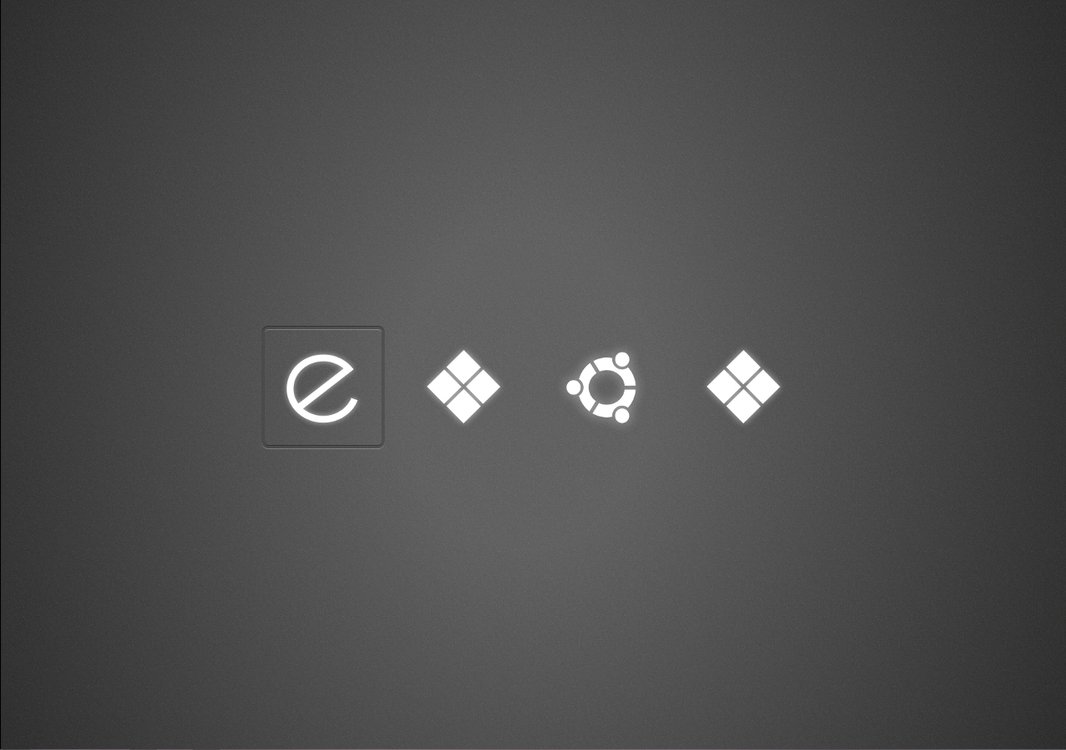
Hello everyone, today I am going to show you how you can install and configure an application called Burg which will remove your grub2 and install the app instead, then you will be able to choose from many different themes out there to make your booting process more appealing. The picture below shows one of the themes that will be included for burg in this tutorial, as you can see, it is more stylish than the booting menu interface of Grub2. This tutorial should work on Ubuntu 14.04 or any other Ubuntu based distribution that was based of that release, and also 12.04 but I am not completely sure (since I have not tested it in other releases other than 14.04). 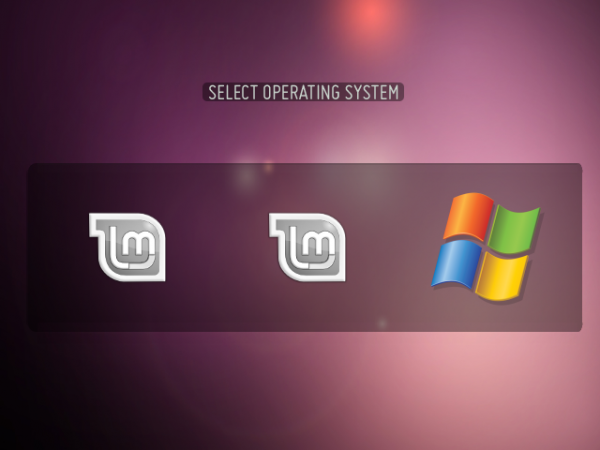 Installing Burg In order to install Burg, you need to open your terminal by pressing "CRTL + ALT + T" or by searching for it in your applications menu. Next, we are going to copy and paste each of the following lines separately to the terminal and press enter. sudo add-apt-repository -y ppa:n-muench/burg sudo apt-get update sudo apt-get install burg burg-themes When installing, you will get something like the image presented below, you need to press the space bar and it will put an asterisk in the box. What this is doing is selecting the hard drive in which you will be installing Burg, which should be the same one where your system is installed. If you press TAB it should highlight the "<Ok>" and then press enter. This will conclude the installation process. 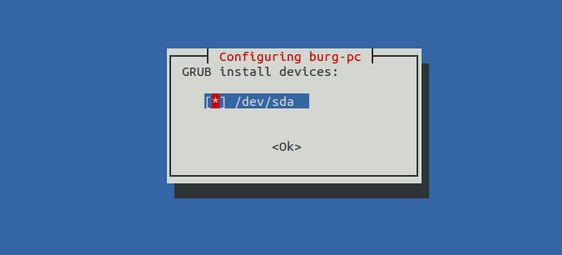 Installing Themes Now that we have Burg already installed, we can install some themes. By default, Burg will bring a somewhat decent amount of themes, but I have found four themes that I think will look fantastic in anyone's machine because they are simple and minimalistic, yet they look great. When you download the themes from their respective devianart pages (the download is located at the right side of the page). You are going to unzip them in your desktop, from there we need to move them to the Burg themes folder. In order to do this you need to type a command like this in your terminal: sudo cp -R ~/Desktop/foldername /boot/burg/themes Where "foldername" is the name of the theme folder that you want to move. If you think you are fine with the themes given, you can skip to the next part. There should be a space between the first path and the second path.
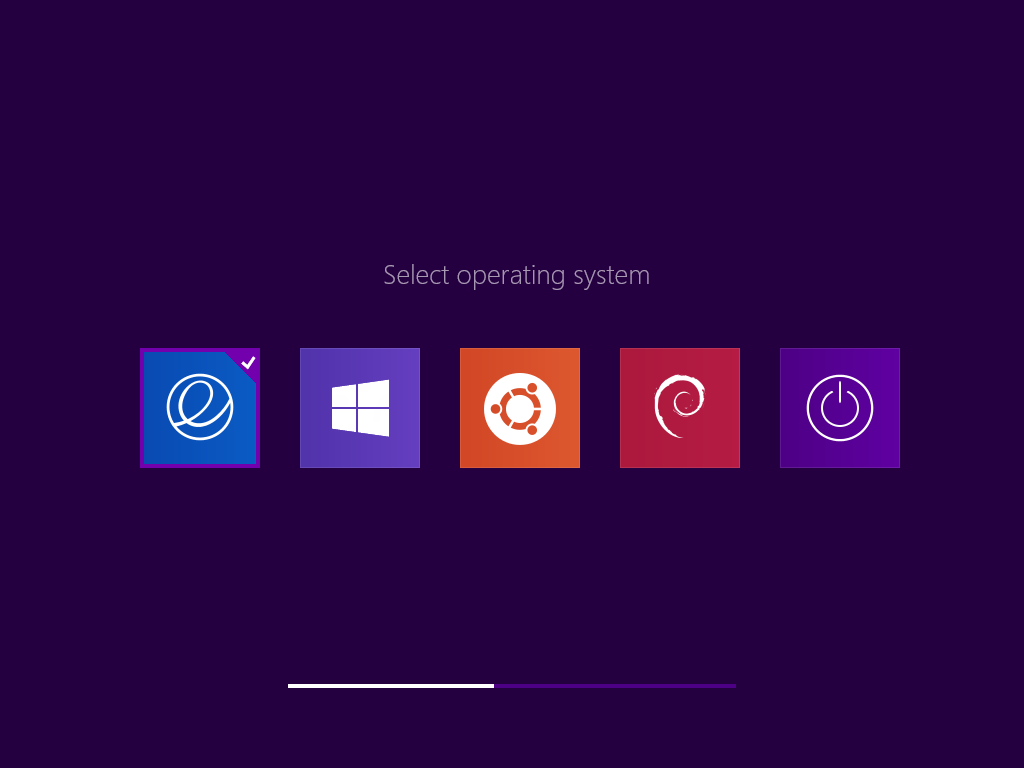
Configuring and Testing Now that we have Burg, as well as our themes installed, we need to run the following command: sudo update-burg This command will allow Burg to find the new themes that we have installed, as well as the operating systems installed in your computer. Now we can see what our Burg will look like by using the command: sudo burg-emu Now here we can change our theme by pressing the F2 key, select a theme and press enter and the theme should change. Now, we want to restart our computer because we need to go on the real deal and change the resolution of our Burg. In order to change the resolution we need to press the F3 key when it show us where we can select our operating systems. When you get to change the resolution you will see how much better it will look. Restore Grub2 If for some odd reason your Burg does not work or you want to just go back to the good old Grub2 menu,you can re-install it by using the following command: sudo grub-install /dev/sda This will restore your old Grub2 menu. Now we are done! We should have a really fancy boot menu that you can show to your friends and family or you can brag about on /g/. If you have any questions related to this article please leave them in the comments below or contact me directly, my information is in the contact tab.
|
Angel MercedesElectrical Engineering student and lover of all things Open Source, 3D Printing, Electronics and Linux. Categories
All
Archives
May 2017
|
 RSS Feed
