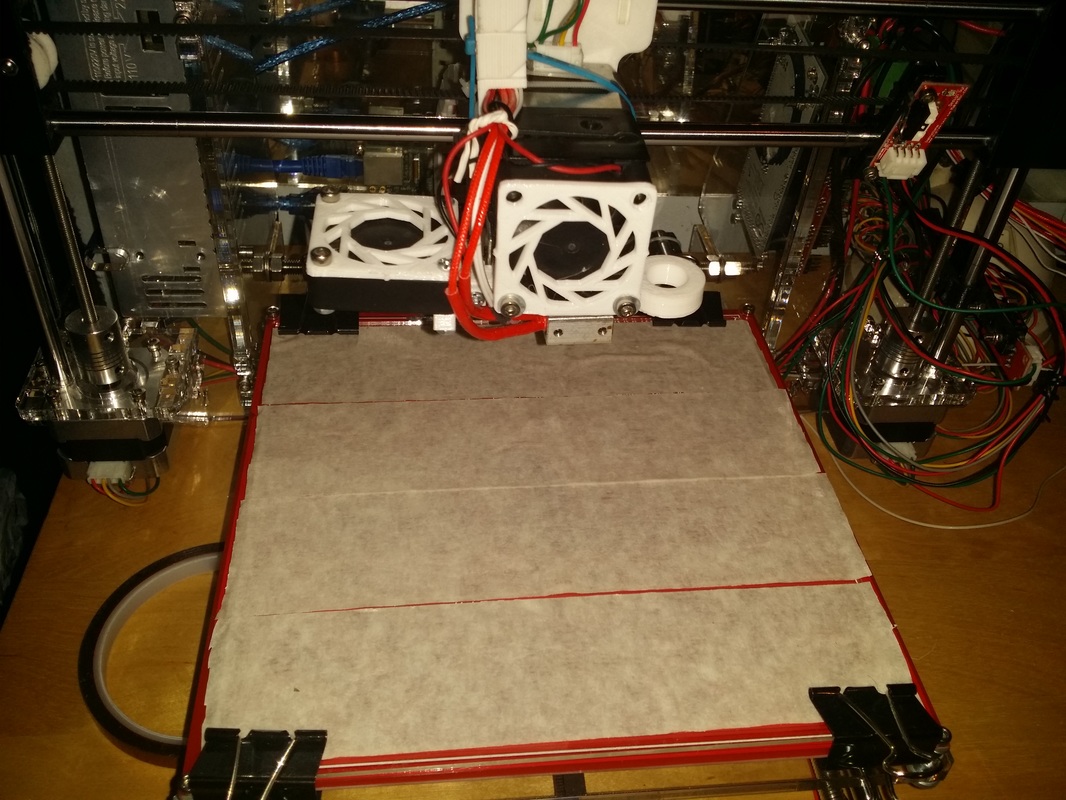
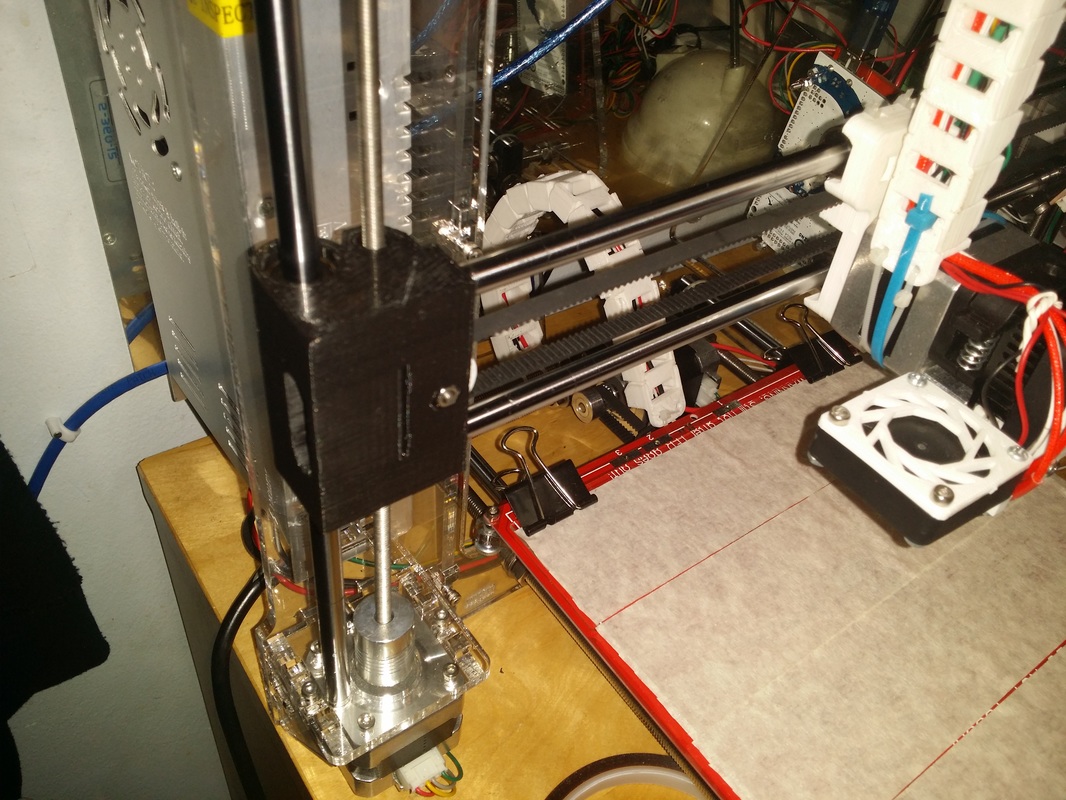
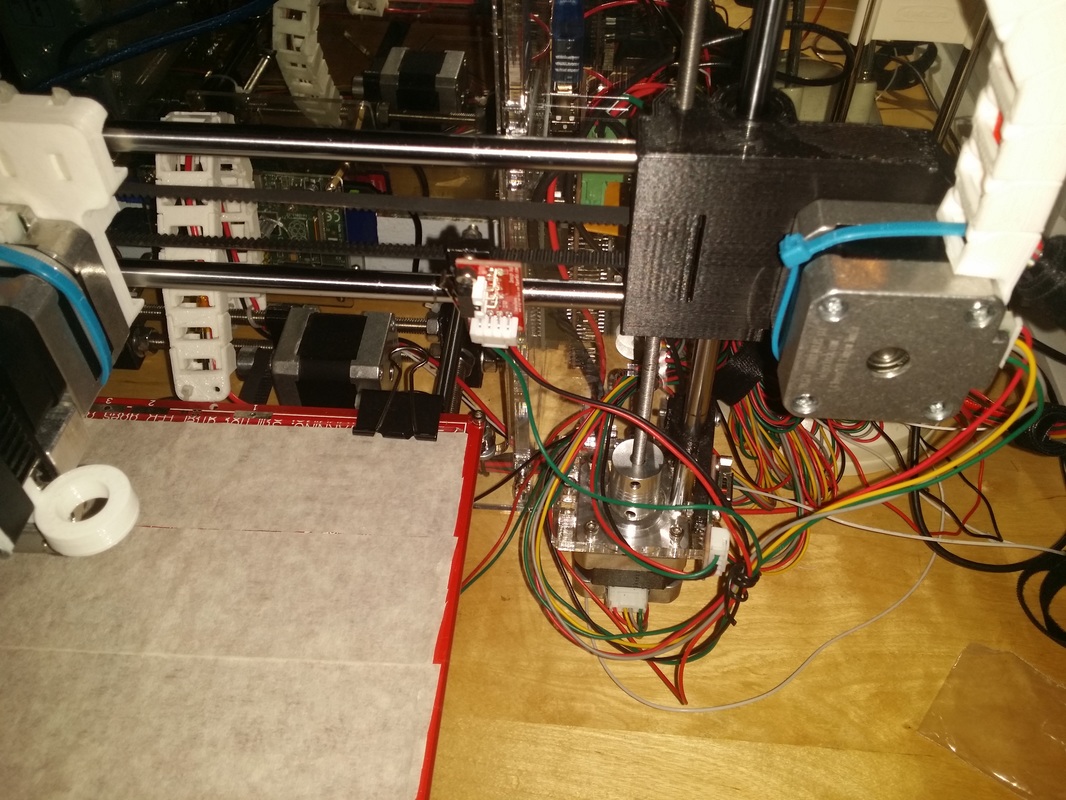
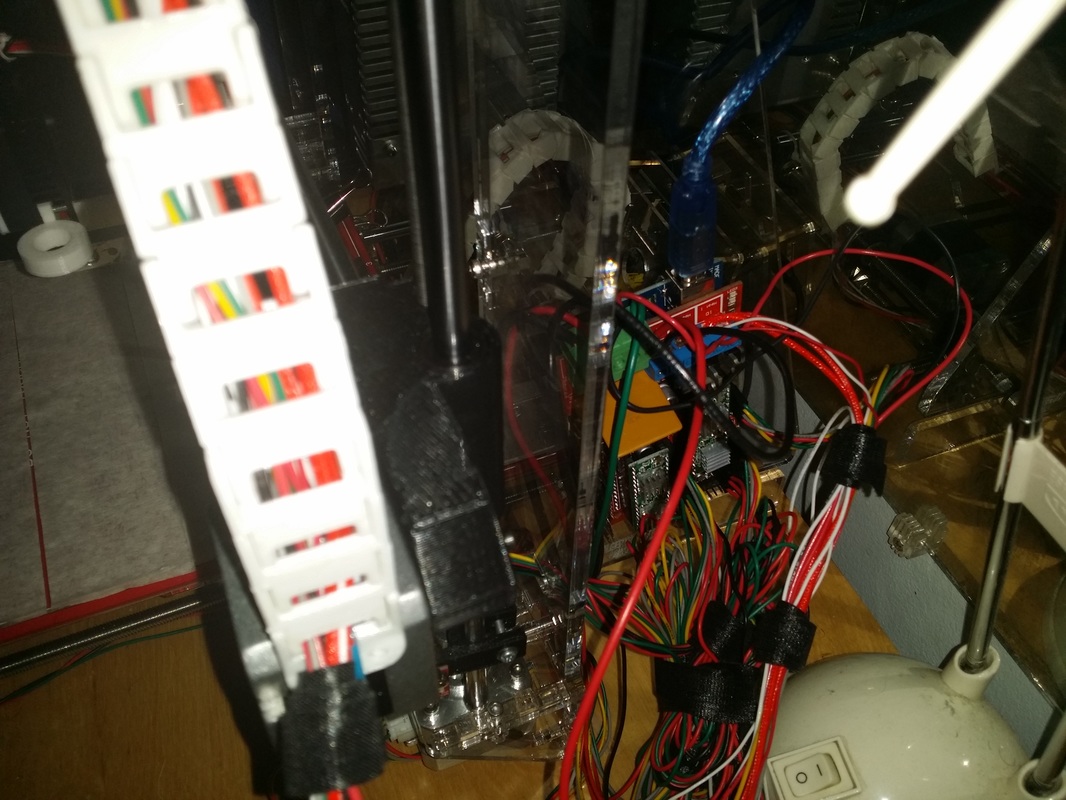
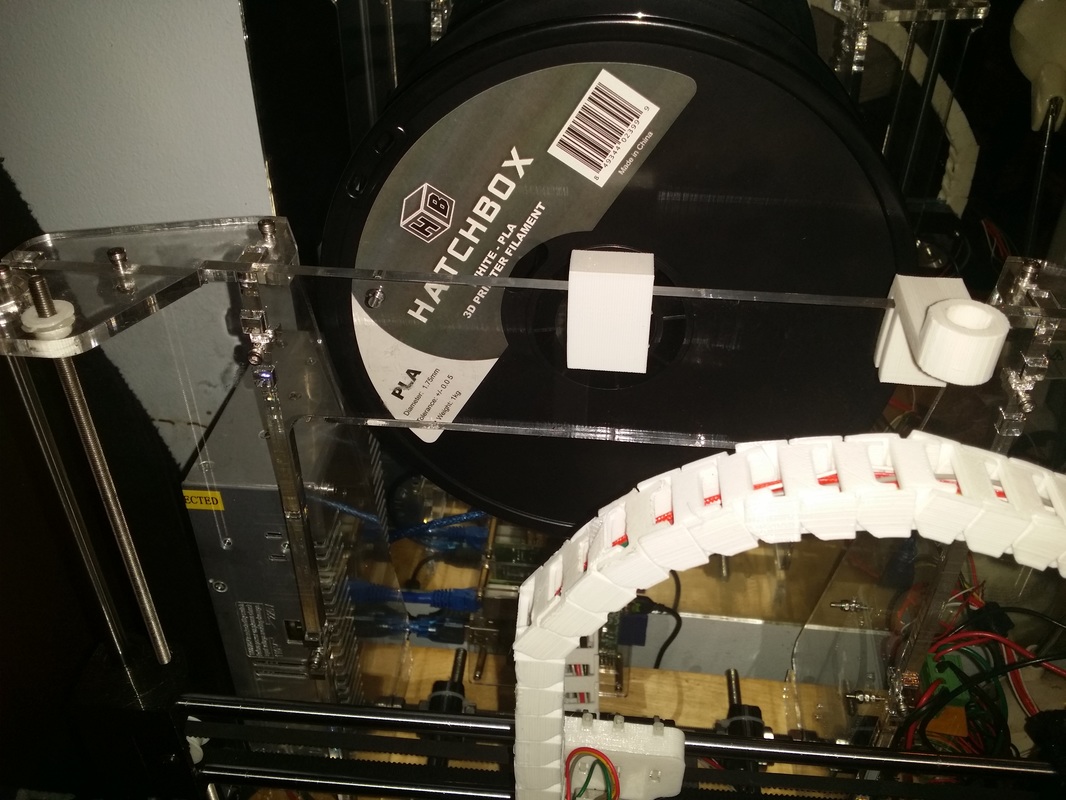
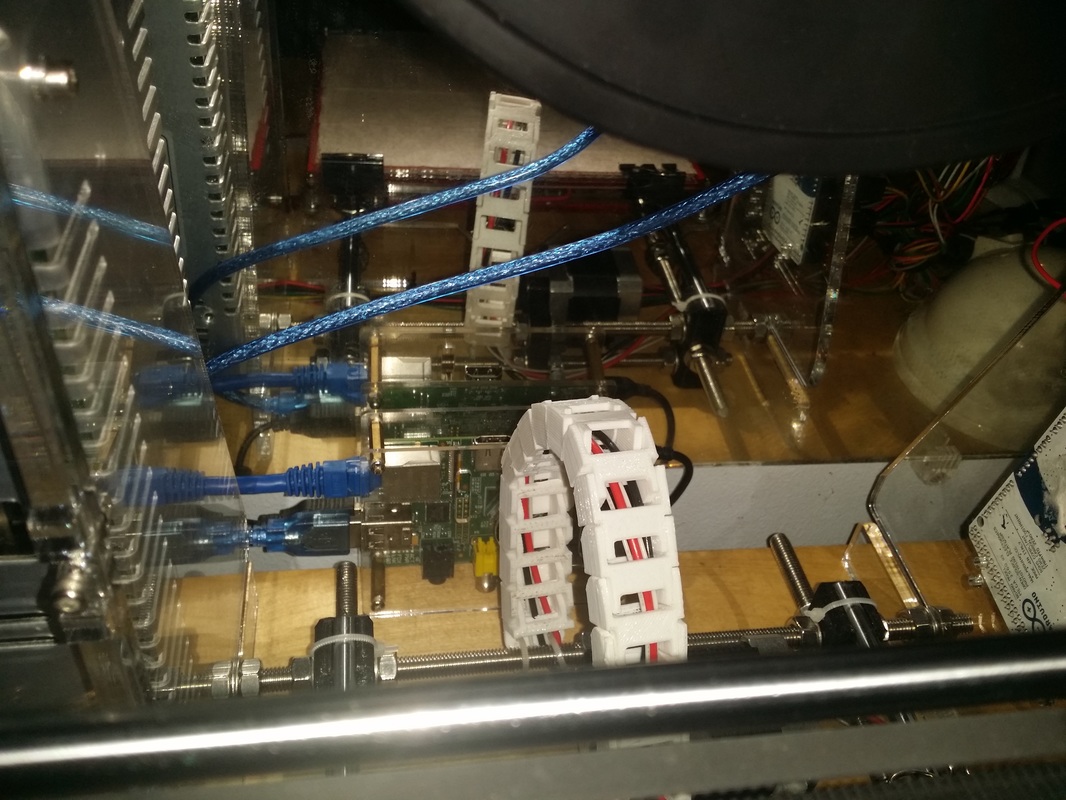
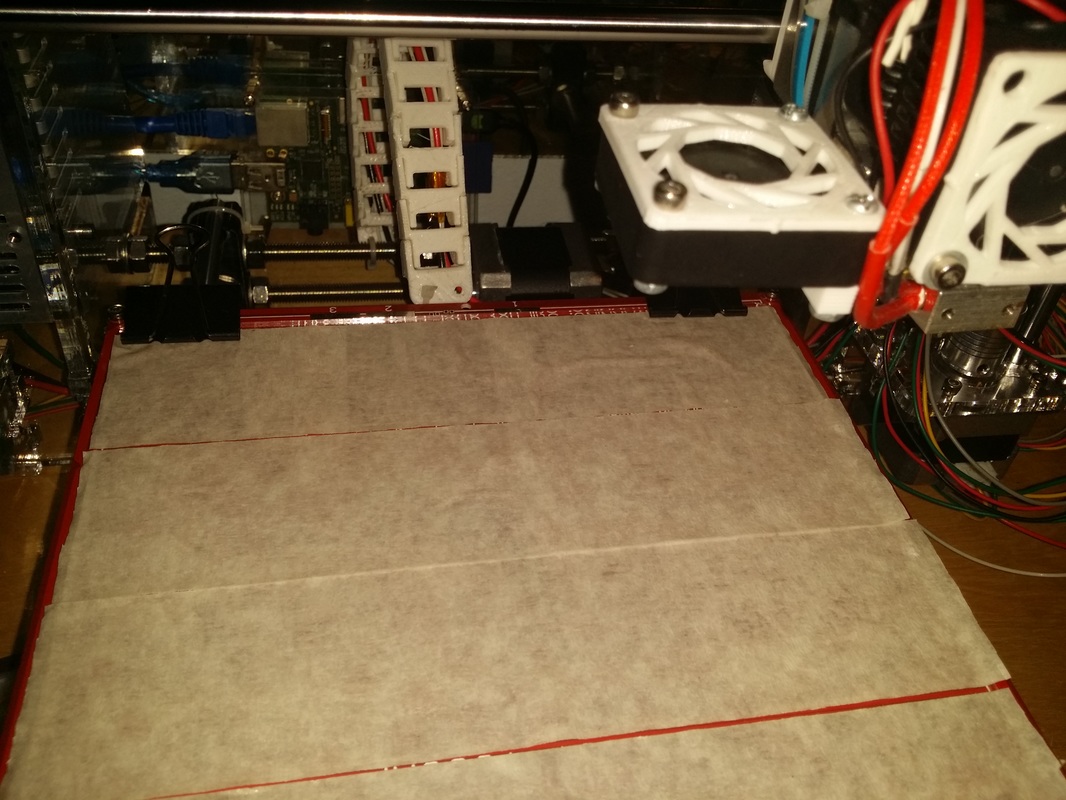
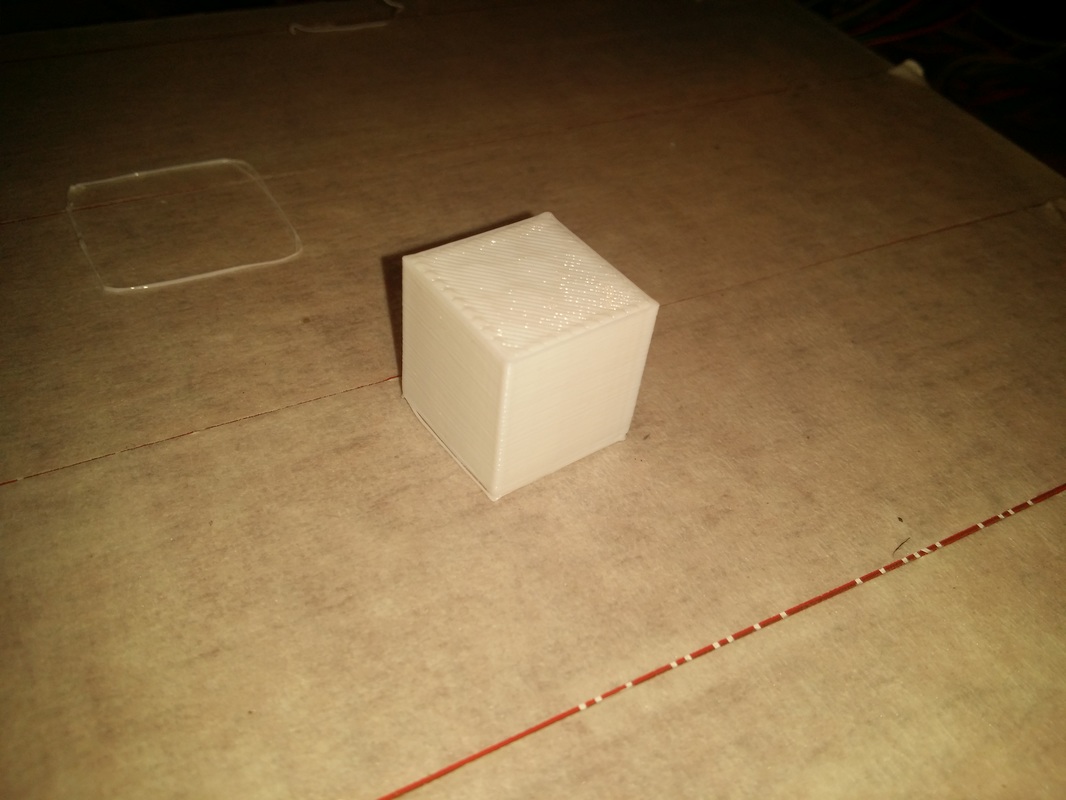
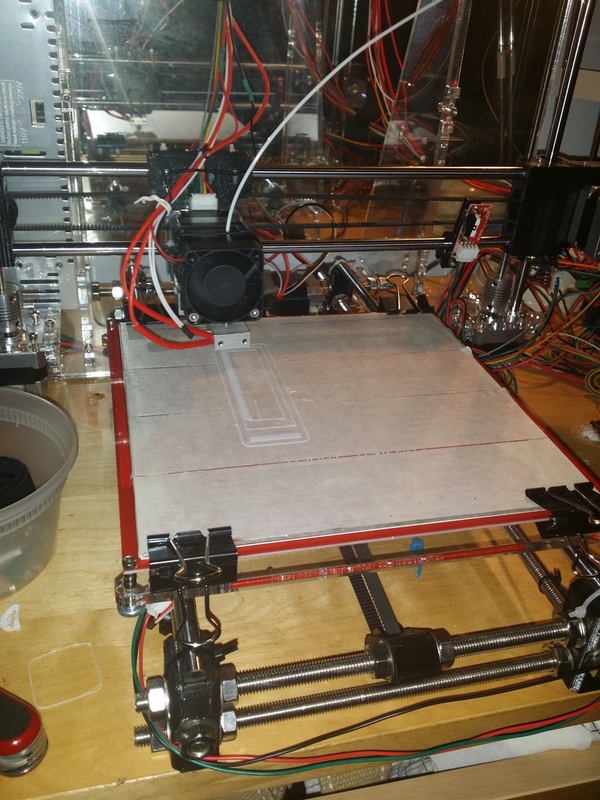
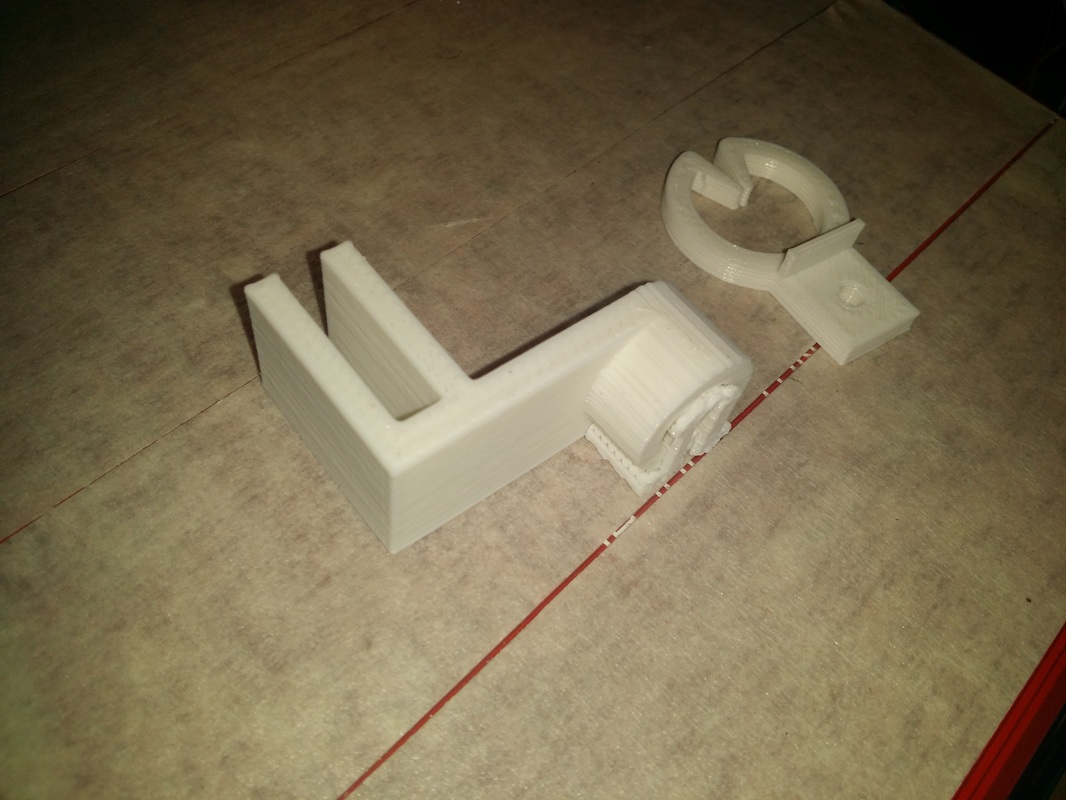
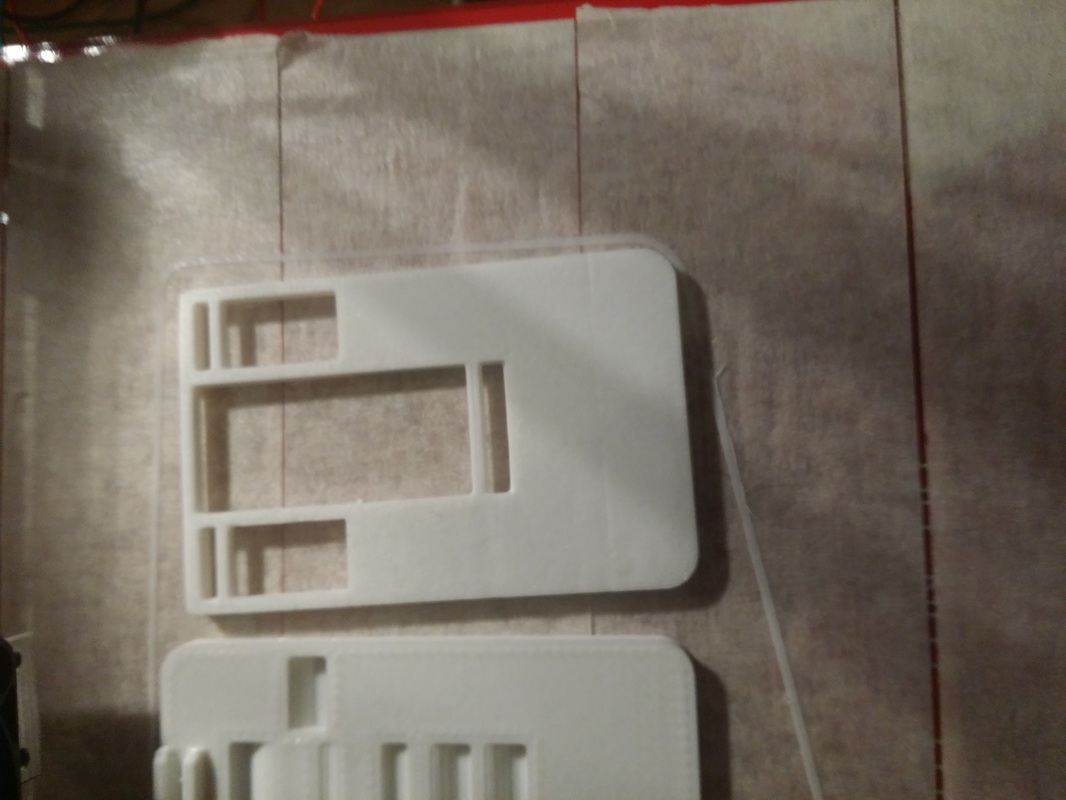
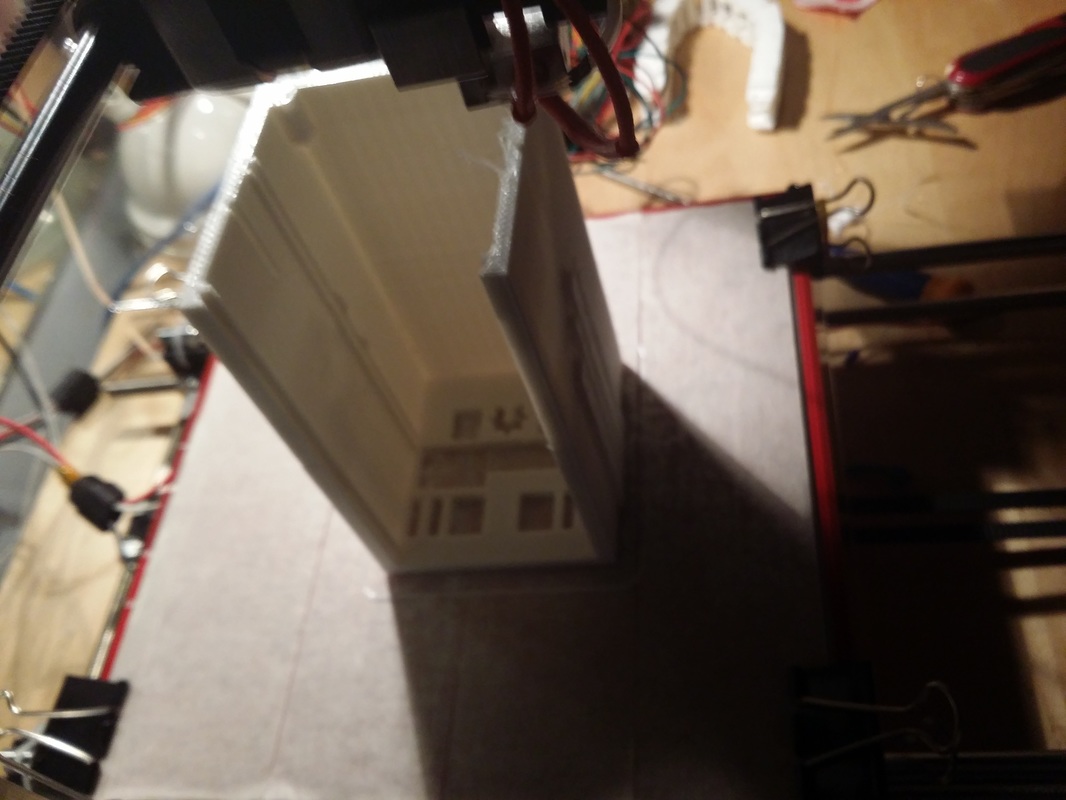
 Hello everyone, I just want to start off by saying that I was not paid to write this review of anything of that sort, what I will be talking about here based on my experience with this printer in comparison with the QU-DB OneUp that I owned before. With that out of the way, lets get started. I ordered the printed for $279.99 plus shipping at the end of June (2015) and it arrived about a week after I ordered it, it took longer to arrive mostly because of issues with the post office delivering the package to the wrong person and keeping me in a limbo about it for a while. I ended up assembling it in about two to three days, and it took a little more solving some problems which I will talk about later. I felt the assembly was pretty smooth to be honest, although some of the instructions could be improved with the amount of details. There more than once the occasions that I found myself googling things related to assembly, and asking questions on groups. Lets get to the printer itself. The printer is a Prusa i3, so if you are familiar with any of the prusa designs you know that they are very modifiable and expandable. With the printer you get a link to a Google Drive folder where you can find most of the information related to the printer, such as assembly instructions, code and software instructions, pictures of the printer, diagrams of wiring, and also the STL printable files of each of the 3D printed parts of the printer itself. "Why would I need those parts?" you ask, well, since the Prusa is fully open, you can take the parts and print them or modify them to suit your needs better. Not only that, but if you end up printing a set of the 3D printed parts, if anything goes completely wrong, you can replace them quickly. I ended up reprinting some of the parts for the printer to be quieter and stronger. The kit comes with everything you will need for the assembly of the printer (and also spare screws, nuts and bearings), the only thing that you actually need to buy separelty is the piece of 8x8 inches window glass, and some painters tape for it. Painters tape is optional and only used to print PLA with, but it has saved me more than once from ruining the nozzle of the hotend or damaging the glass. I got the glass from a local shop for about $3. If you want, you can get 2 or 3 pieces of the glass, This so you can unclamp after a print is done and use another piece of glass right away, or for printing different materials. It took me like 3 days to assemble it, mostly because I had no experience with the printer and the electronics itself, the OneUp had different electronics that were a little bit simpler. In any case, I felt the build was pretty smooth, I did not end up hiting any issues that will stop me from using the printer. If you can find a friend or person that can help you while building it, you could easily finish it in one day of work. The only thing I think a person might find challenging is the fact that you have to solder the heated bed cables, but since I like soldering it was no problem for me. Be sure to read properly the instructions when you get to that part, because you will have to jump a wire between the two pads in order for it to work properly. Another thing to be careful about is the endstops, do wire them correctly, or they will end up frying your electronics. Wrong wired endstops are pretty scary. Here its what happened to me while building my Prusa, after I was done building and testing, my endstop were saying that they were open when they were actually closed, pretty much they were acting as if they were inverse. I tried flipping the connector and nothing worked after that. Every single time I will connect the Ramps to the Arduino mega, it will not turn on at all, but the Mega by itself will. I though I had fried my Mega (Which I almost did, well fried the power regulator), but in fact the Ramps was the one broken and I did not know. I order the new Mega, same thing happens, then I decide to order a new Ramps and everything works well. I still have the older Mega which I might end up using for another printer build or something. anyways tl;dr check you wiring or you will fry your electronics. Now I will discuss some of the positive and negative things that I have found in the printer, and how does it compare to the oneUP. Positive things: 1). Very quiet if built right: In comparison to the OneUp, this printer is way more quiet, even being bigger, and having more moving parts. The first thing that amazed me is how quiet and smooth the movements were when moving it, the OneUp will be so small yet so loud, I could not print with it while someone was asleep because of it. With more tweaking, you can make your printer extremely quiet as well. For the most part, most of the noise in it comes from the belt holders rolling and some of the bearings. 2). Does not vibrate a lot: Vibration was also really bad on the OneUp too. Sometimes, It will vibrate so much during printing that it will almost fall of the table where I had it in. That is not the case with this printer, it is awful stable and will not move an inch, even after printing for hours and hours. 3). Printing quality is pretty good: I was amazed at the first print I did with the printer and how well it came out. The quality was amazing without much tweaking. In the OneUp the quality was pretty terrible, mostly because it was not as accurate or stable. The way that the extruder is built, which is a custom one made by FolgerTech also helps. I have yet to have weird issues while printing, other than when the print is extremely hard to print without support material. 4). Fully open: The printer is completely open source, you can change whatever you want and do whatever you want to it. You can also find a lot of modifications to do to it online. I have seen people turn Prusas into small CNC machines and laser engravers. I will be including down below some things to print first in order to make your experience smoother. 5). 0 clogs or jams so far: Thanks to having an awersome extruder, and using good filament, I have had no issues with clogs and jams. For the most part I buy Hatchbox filament from amazon and it is pretty good quality and melts really well. Jams are something extremely annoying to deal with, and something that can completely ruin your whole day. Jams mostly happen when the extruder is bad, or the filament is bad or dirty. A lot of Chinese filament sold on Ebay is pretty bad, and can completely damage your extruder. Stick well known filament producers like Hatchbox and other companies. Check reviews, see what people say about them. 6). Arduino Mega + Ramps: Having an Arduino Mega and Ramps board is the cheapest and best way to go when building a printer. It makes troubleshooting super easy too because of the amount of documentation out there. The good thing about them is that they are very inexpensive compared to other boards such as the rambo (which can be about $120), you can grab the whole board for about $35 on ebay, and if you want, you can even add an LCD in order to not have to print with your computer attached to your printer. I think it is a very smart choice. 7). Build volume: Compared with the 4x4 inches build area of the OneUp, the FolgerTech Prusa feels massive. You will end up being able to print most of the things out there without having any issues in terms of volume. Pretty much most filaments also stick to the glass platform very nicely too. 8). Price: At $280 plus shipping, it is a complete no brainer, when Printers that are $100+ don't even include a heated bed. The OneUp (that piece of crap) is about the same price with a heated bed included! I completely recommend this printer for anyone looking to start into 3D printing, but without spending too much money. I think by far it is the best printer in the market at that price. Negative things: These problems can be easily fixed with a little bit of work, and also some re-printing, but are also things that they could change in order to make the printer itself better. 1). The printed part quality: I had the issue that was that some of the parts will not fit properly and I will end up doing a lot of sanding in order to get them to fit well enough. Not only that, but the quality seemed a little bit off, as if the parts had been printed too fast. I understand since it is kinda hard to print with ABS, and I can also reprint the parts. 2). Issues in the code: I ended up finding a lot of issues in the code too. The most notorious one was one which will end up flipping the logic of my endstop and making them think they were being pressed when they were not. It took quite a bit of research in order to find the solution for that issue. 3). Flipped X motors: For some reason, the motor in the X axis is at the opposite direction, when compared to a normal Prusa i3, in order for you to fix this problem, you need to flip the motor connector in the ramps for it to move in the right direction. I did this with software and ended up mirroring every single print of mines when I was trying to print anything that was not symetrical. 4). No Y axis bearing holders: At least in my kit, the bearing holders for the Y axis did not come in the package. It is not a big deal, but it very nice to have them because they make troubleshooting the Y axis way easier, and you do not end up having to break the zipties in them. 5). Cable management: Cable management can be a nightmare if you don't have a way of doing it. I would love to see the kit include some velctro ties in order tie up the cables together. I had to get some of those in order to get a neat management and for the wires to not get caught up on anything. You can even get away with using electrical tape. My recommendations: 1. Use high quality known filament with good reviews. 2. Find a buddy to help you assemble the printer faster. 3. Organize your cables as much as you can. 4. Find printable upgrades in order to make the printer better. 5. Print a set of printable parts just in case. 6. Make sure everything is working properly before your first print. 7. Level your bed and Z axis properly 8. Always save your Marlin code whenever you modify it. 9. Do not overtighten the screws in the acrylic frame or you might end up cracking it. Printable upgrades: These are things that I suggest you print, because they will make your life way better. 1. Spool holder: Very good spool holder, handles all the spools I throw to it. I have heard that some people have had issues with way bigger spools so be mindful of that. Hatchbox spools tend to fit well. You can use a pencil or a threaded rod to place your spool on it. Link: http://www.thingiverse.com/thing:177687 2. Filament guide and filter: Very useful, It guides the filament to where it has to go from the spool and also cleans it at the same time. Having clean filament helps a lot if you are having jams. Link: http://www.thingiverse.com/thing:215067 3. Cable organizer: This is more of a cable guide for the extruder cables. It allows for them not to be moving around and getting on the way. Link: http://www.thingiverse.com/thing:571645 4. Z rods stabilizer: Another super helpful thing. What this does is to not allow the Z threaded rods to be wobbling around. Link: http://www.thingiverse.com/thing:785795 5. Cable chains: These are good for keeping cables nicely organized too. You place the cables inside of these and give it enough slack and they won't be all over the place, however it takes a lot of printing and effort to get them on. Link: http://www.thingiverse.com/thing:40124 6. Idler with belt tensioning: This one is a very good idler that allows your to change the tensioning of your Y belt. Link: http://www.thingiverse.com/thing:320268 Videos that I have made:
0 Comments
Leave a Reply. |
Angel MercedesElectrical Engineering student and lover of all things Open Source, 3D Printing, Electronics and Linux. Categories
All
Archives
May 2017
|

 RSS Feed
