|
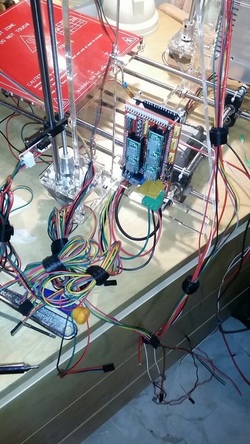
Hello guys, I received and built my Prusa I3 a little while ago. Even though it was a long process, I feel like I did it fairly quickly and smoother. It took me about 2 days to get it to work, however at the third day I ended up burning the ramps and the Arduino mega because of an endstop problem. I ordered a new mega and ramps and the ramps X axis port has an issue and won't run my printer at all. I am in the process of returning the mega for a working one, but still, I have not been able to print anything after about 2 weeks of building the printer. 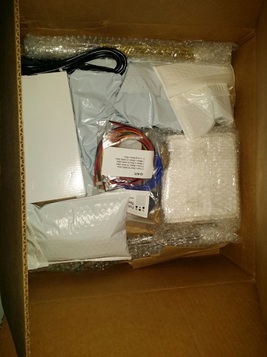 I received the printer after pretty much waiting for it for more than a week. A lot happened to it, it was even lost by the post office at some point. 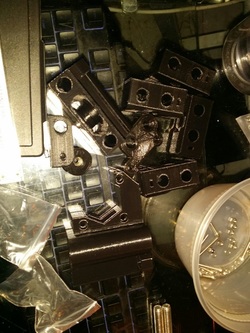 First we have the 3D printed parts. The quality is not the best but they get the job done. Some of them needed sanding because they did not fit properly. 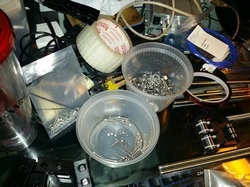 I ended up separating the screws and other parts so it will be easier to work with them. There are a lot of screws and nuts in the kit and each one of them matters a lot.  The acrylic frame is easy to assemble. You have to first attach the Z motors to the acrylic frame.  The Y axis base uses 3 linear bearings for it to slide around. Those need to be attached with zipties. 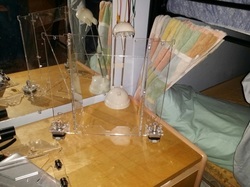 When you add the back parts of the frame, it can kinda stand up by itself, but it can easily fall forward. 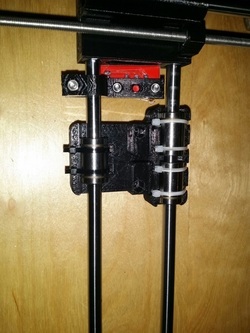 I ziptied the bearings in the extruder part and slid it into the X carriage's smooth rods, then added the two x carriage parts at the sides where the Z rods go through. To the side of it I attached the X max endstop. 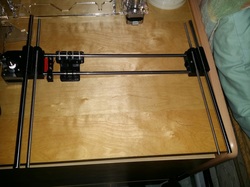 Here its the view of it fully put together. It is missing the belt in the picture. 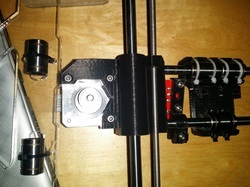 View of the motor that drives the X belt. The belt is not yet attached. 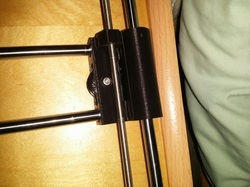 View of the bearing that controls the movement of the X carriage belt. In my machine, the bearing part seems to be really loud when moving from side to side, which I might end up solving by printing the whole part in the picture again. 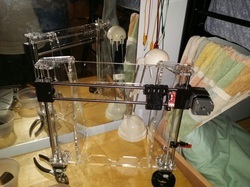 Now here its the X and Z fully assembled with frame and everything.  Here its a shot of the assembled Y axis, it doesn't have the heated bed yet. It needs to be attached to the main frame. 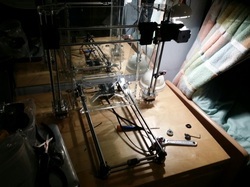 Here its the Y axis attached to the main frame. Now it the frame is nearly completed. 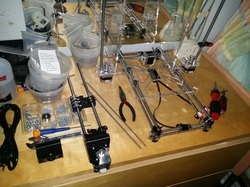 I had to take apart X axis because I did something wrong, although it seemed annoying at the time, it saved so much time later on. I believe I had a motor facing the wrong way and I had to switch it around. 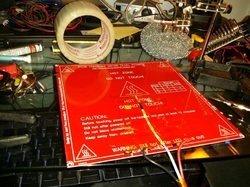 Now to the heated bed. In order to get it to work, you need to solder two wires directly to it and tape the thermistor with kapton tape to the bottom of the bed. There needs to be also a big enough jumper between two of the soldering pads. 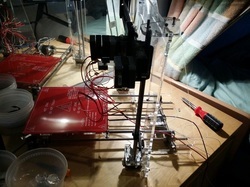 Here its a shot of the heated bed attached to the Y carriage. It needs to be attached with four screws which will allow you to level it. Over the heated bed goes a piece of 8x8 inches window glass panel. 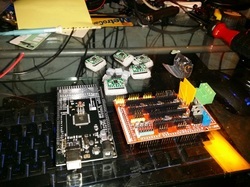 Here are the electronics, the Arduino Mega in black, Rampbs board in red, and behind them you can see the stepper motor drivers. 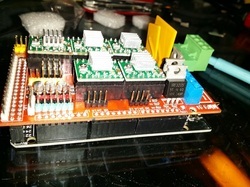 Here its a shot of the electronics all together, stacked like a sandwich. The ramps goes on the Arduino Mega, and the stepper motor drivers go on the Mega. 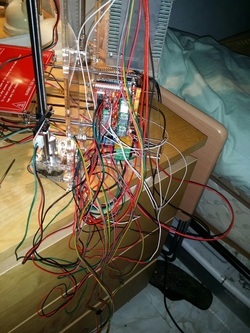 Connecting and organizing the wires was a mess. Here you can see the rats nest that is made when you connect all the wires without organizing them. It took me like half an hour to organize every single wire based on their purpose. I have done some changes to the electronics and I still keep them somewhat organized for ease of troubleshooting.
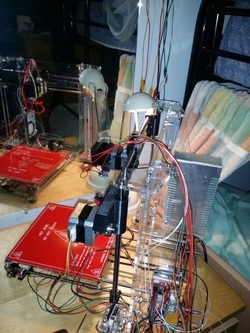 Here you can see how my wires for the extruder go over the frame. I placed them in a way that they can move freely up and down and side to side. I printed a little loop that goes in the frame, which holds them in place and still leaves them with enough slack to move, in a next post I will show you some of the upgrades I have printed. 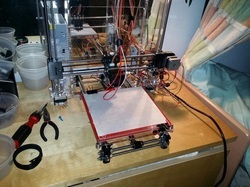 And there we go, here its a shot of the printer fully built. At the time of the writing of this post, the printer looks completely different because I have printed some of the parts again, and also printed some needed upgrades to improve the functionality.
0 Comments
Leave a Reply. |
Angel MercedesElectrical Engineering student and lover of all things Open Source, 3D Printing, Electronics and Linux. Categories
All
Archives
May 2017
|
 RSS Feed
